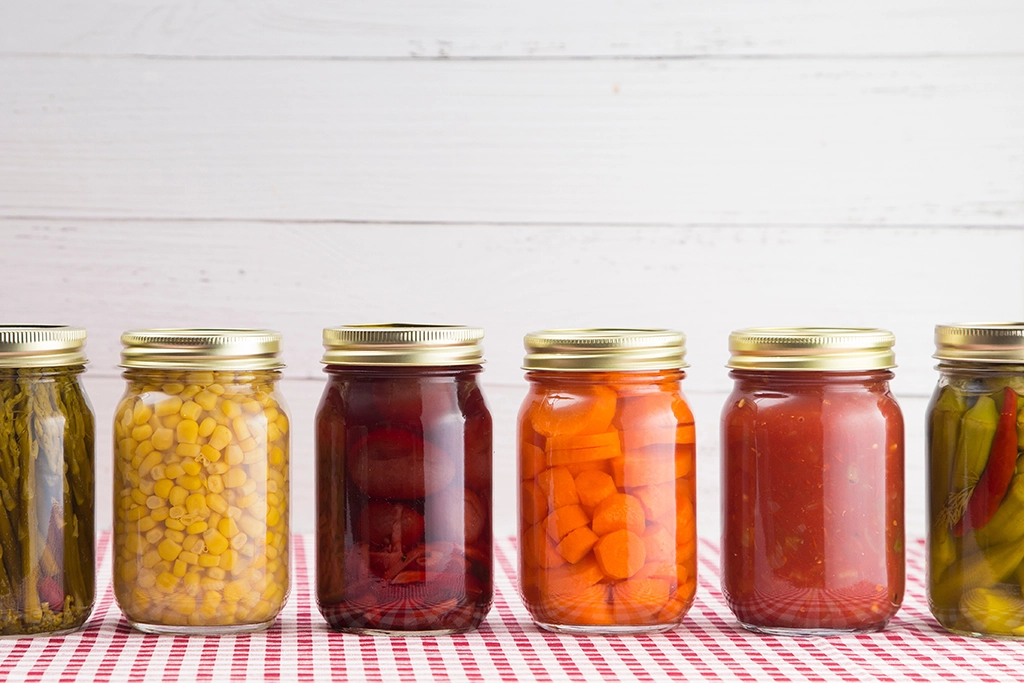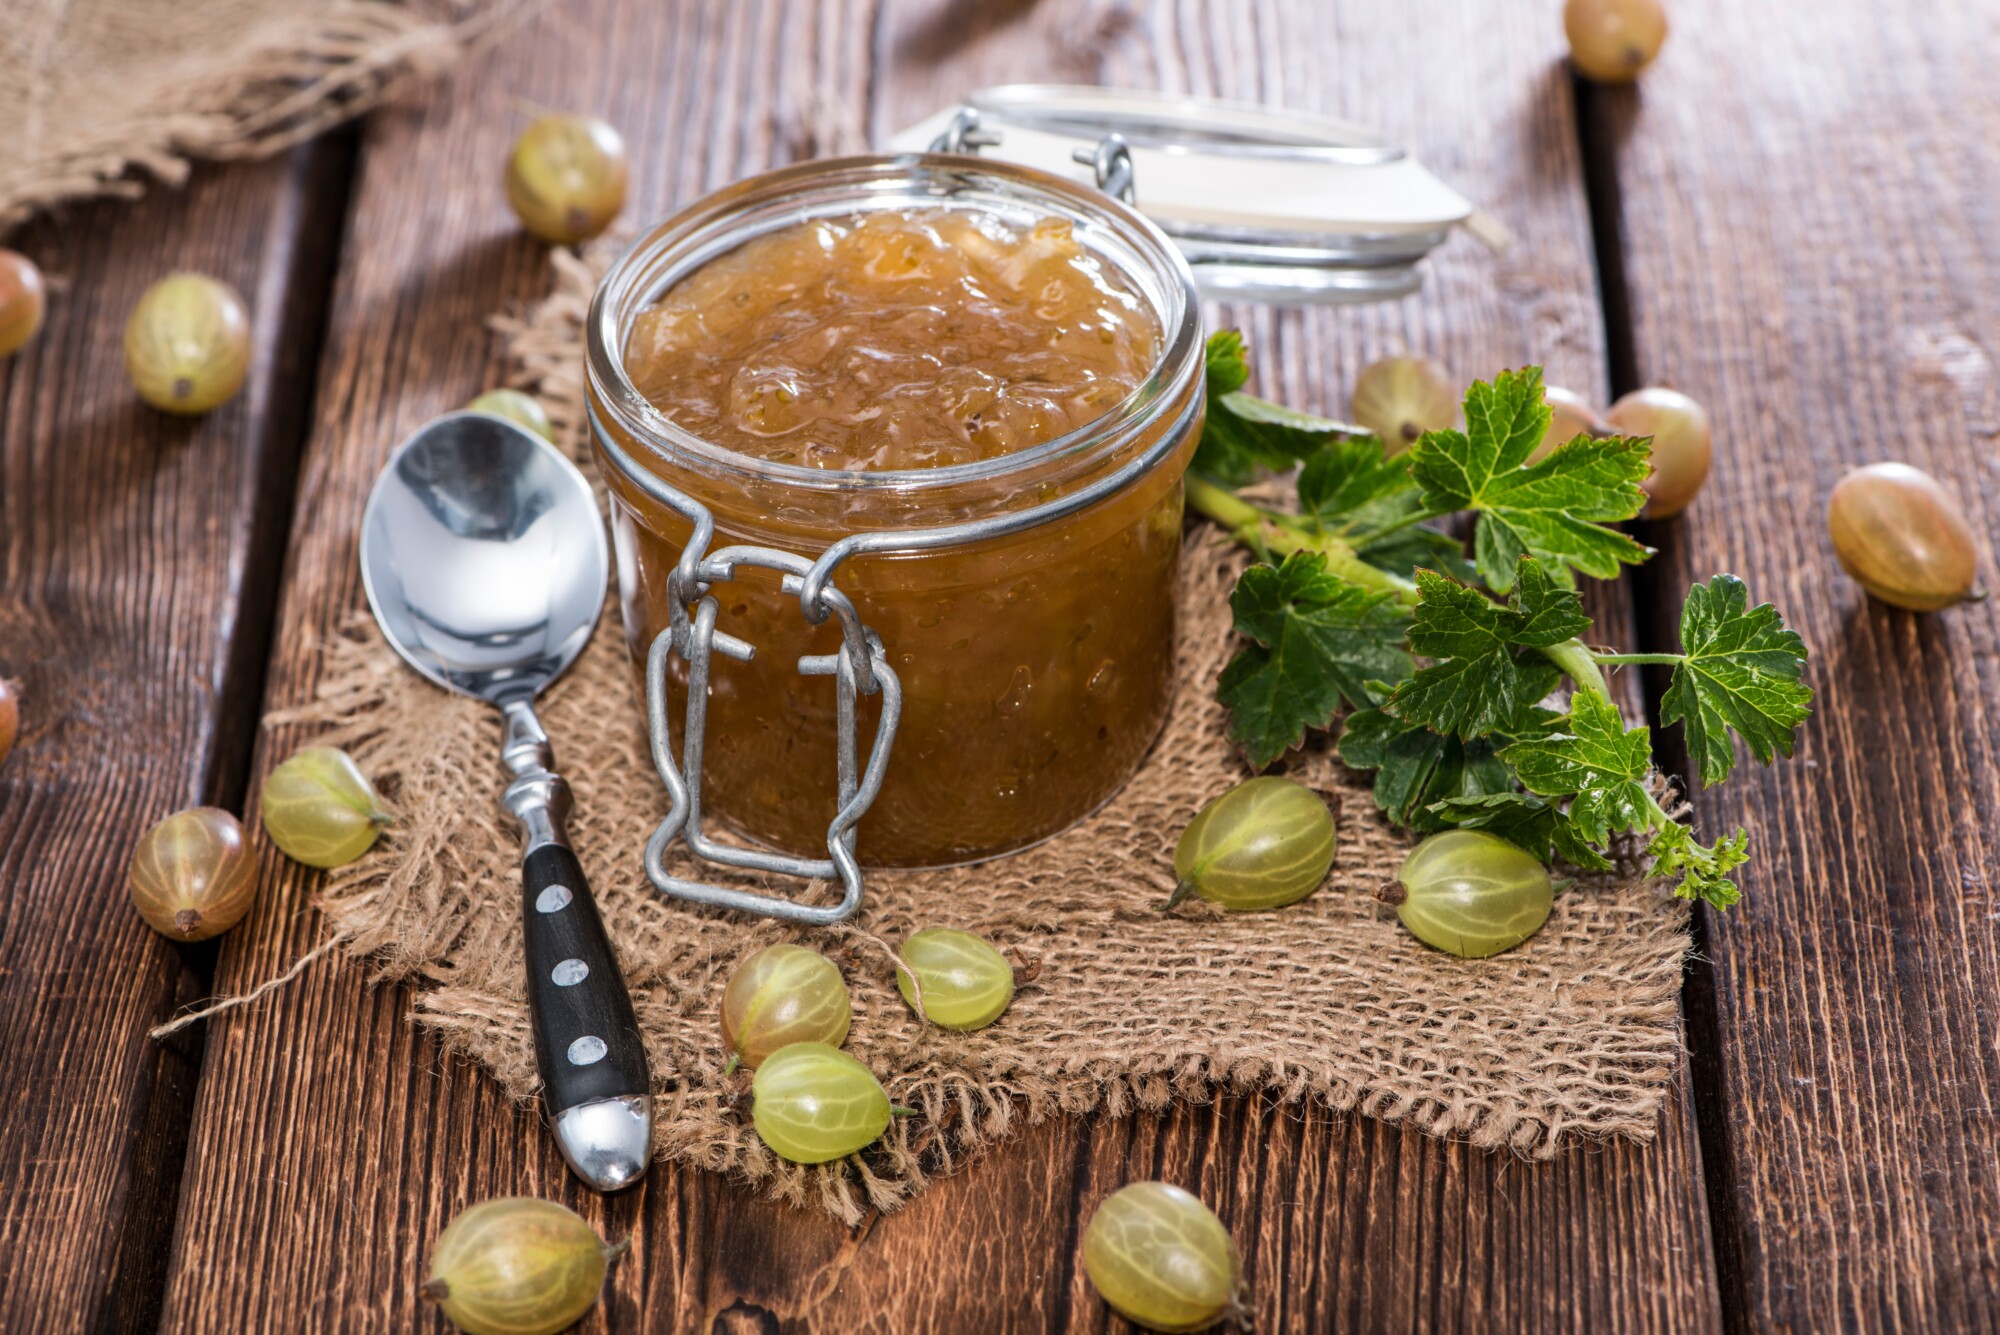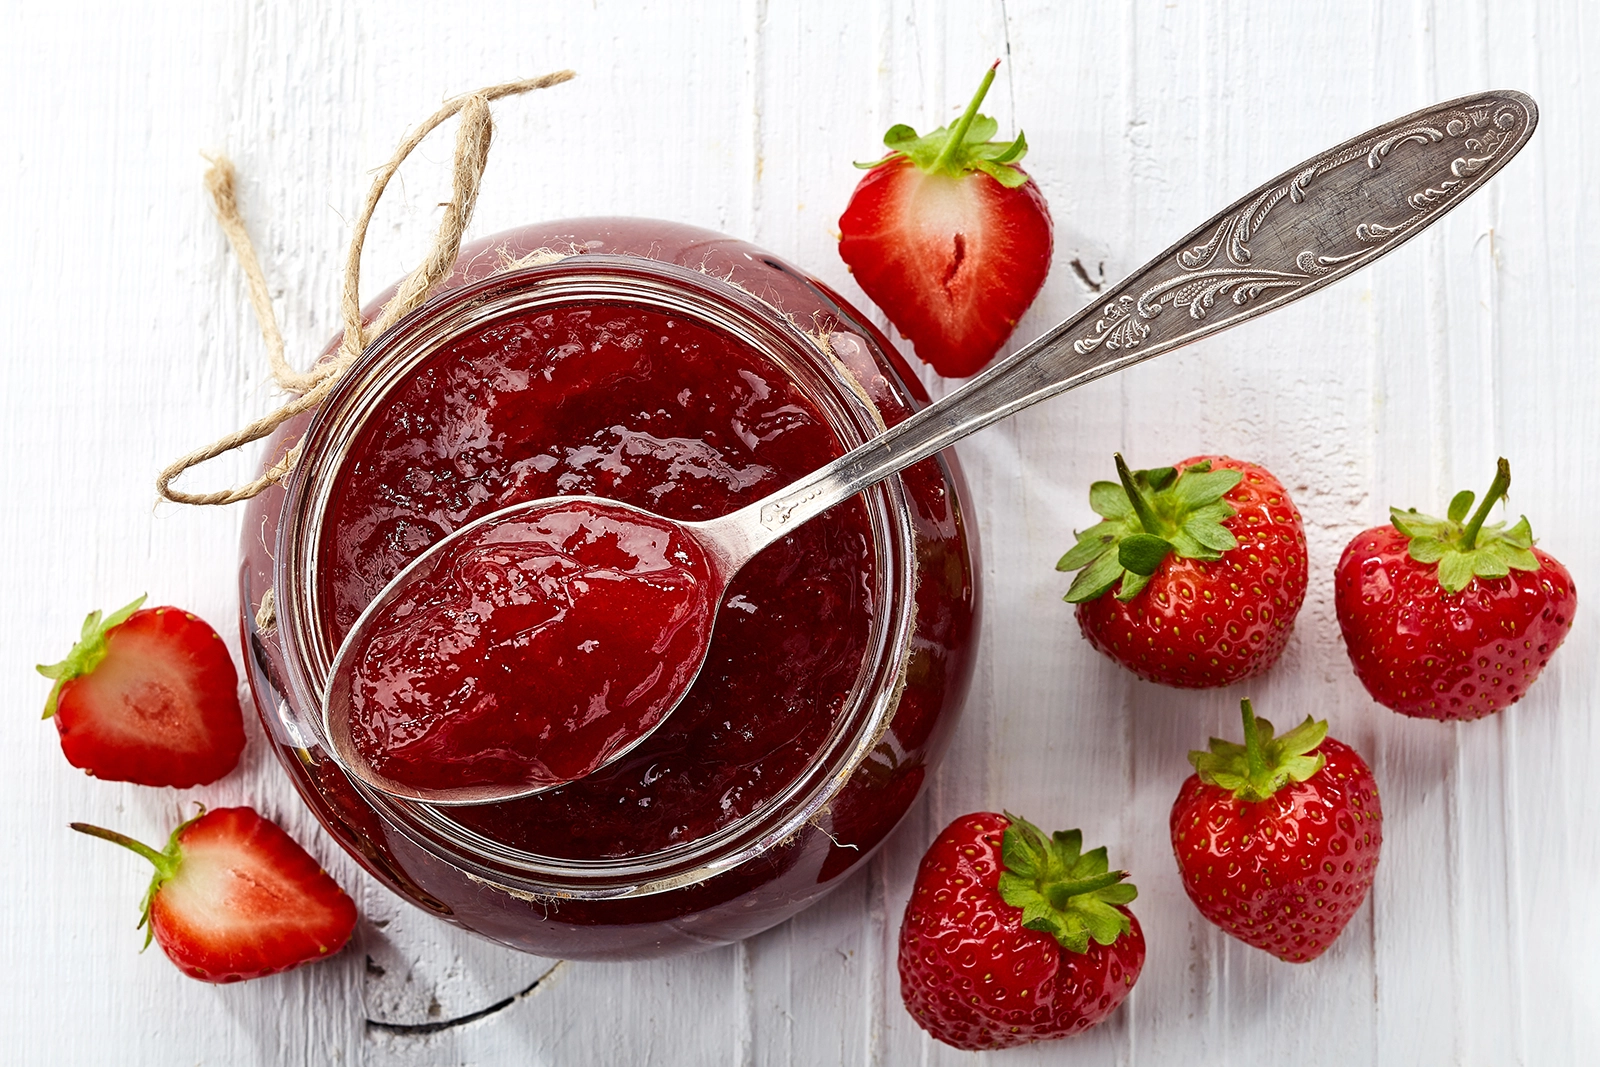
Making homemade jam is a rewarding way to preserve the taste of seasonal fruit. Whether you’re new to jam making or looking to perfect your technique, this guide will take you through the process with clear steps, expert tips, and answers to common questions. With just a few ingredients and the right jars, you can enjoy delicious, fresh-tasting jam all year round.
What is Jam?
Jam is a sweet, spreadable preserve made by cooking fruit with sugar until it thickens and reaches a gel-like consistency. Unlike jelly, which is made from fruit juice, jam contains the fruit’s pulp, giving it a rich texture and intense flavour. It’s a versatile condiment that can be used on toast, in desserts, or as a flavorful addition to savoury dishes. The process of making jam not only preserves the fruit but also intensifies its natural sweetness and flavour, allowing you to enjoy the taste of fresh fruit all year round.
Why Make Homemade Jam?
Homemade jam is not only delicious but also allows you to control the ingredients, avoid preservatives, and experiment with flavours. It’s a great way to use up an abundance of seasonal fruits and create personalised gifts for friends and family. Plus, there’s something incredibly satisfying about spreading your own homemade jam on a piece of toast or using it in desserts.
Essential Ingredients
To make jam, you’ll need just a few simple ingredients:
- Fruit: Choose ripe, fresh fruit for the best flavour. Common fruits for jam include strawberries, blueberries, raspberries, peaches, and apricots.
- Sugar: Sugar acts as a preservative and helps set the jam. Granulated white sugar is most commonly used, but you can experiment with alternatives like honey or low-sugar pectins if desired.
- Pectin: Pectin is a natural thickening agent found in fruits. Some fruits, like apples and citrus, are high in pectin, while others, like strawberries and peaches, are low. You can add commercial pectin or use natural sources like apple peels to help your jam set.
- Acid: Lemon juice or another acidic ingredient is often added to help the jam set and balance the sweetness.
Tools You’ll Need
- Large Pot: A heavy-bottomed pot or Dutch oven works best for cooking jam.
- Canning Jars: Sterilised glass jars with lids are essential for storing jam. We are proud to supply a range of stunning jars perfect for this purpose. Explore our glass jar range.
- Jar Funnel: A wide-mouth funnel makes it easier to pour the hot jam into jars without spilling.
- Candy Thermometer: Useful for ensuring the jam reaches the correct temperature.
- Ladle: For transferring the jam from the pot to the jars.
- Jar Lifter: To safely remove hot jars from boiling water after processing.
Step-by-Step Guide to Making Jam
Step 1: Prepare the Fruit
Start by washing the fruit thoroughly. Remove stems, pits, and any blemished parts. Depending on the fruit, you may need to chop it into smaller pieces. For berries, you can leave them whole or mash them slightly for a chunkier texture. If you prefer a smoother jam, you can puree the fruit in a food processor.
Tip: Weigh the fruit after preparing it to ensure you have the right amount for your recipe. Generally, you’ll need about 4 cups of prepared fruit for a standard batch of jam.
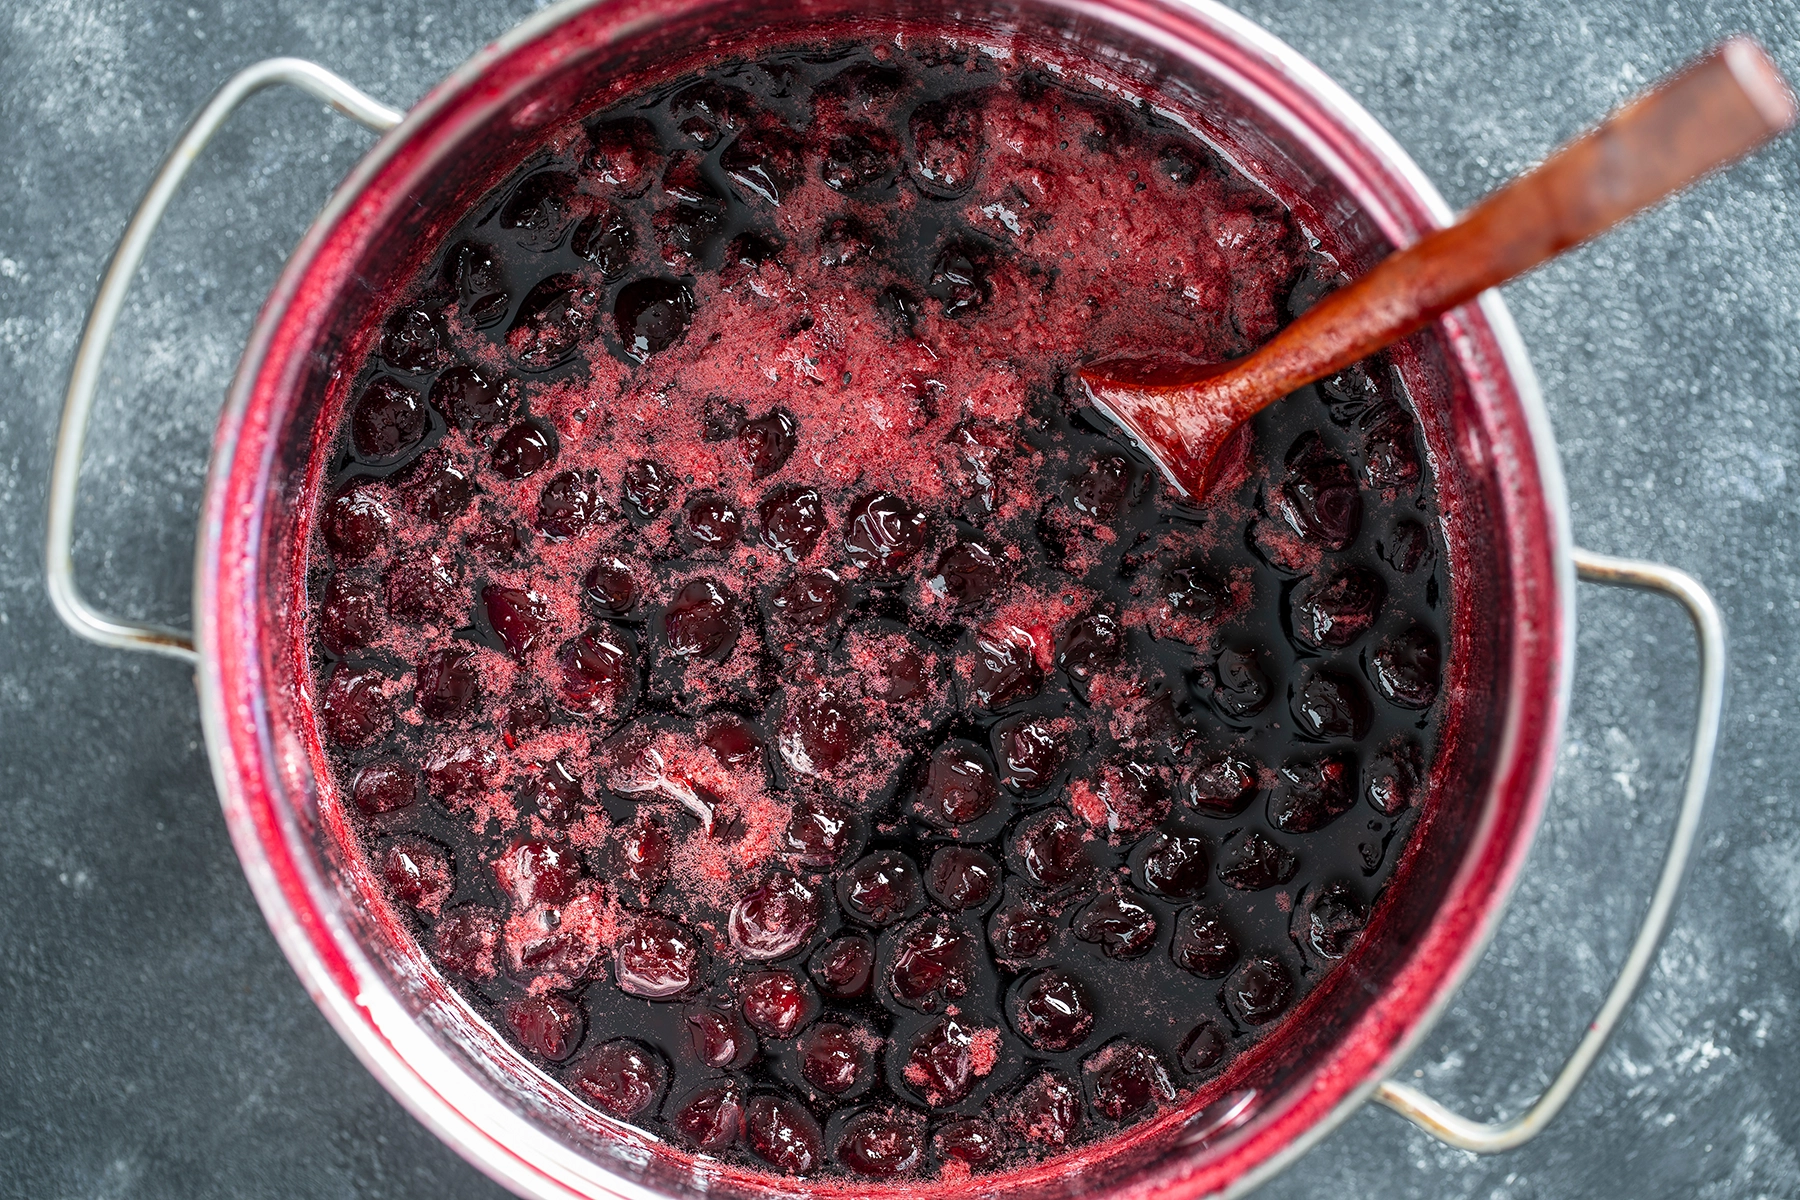
Step 2: Cook the Fruit with Sugar
Place the prepared fruit in a large pot and add sugar. The typical ratio is 1:1, meaning equal parts fruit and sugar by weight, but you can adjust based on your taste preference or the natural sweetness of the fruit.
Heat the mixture over medium heat, stirring constantly until the sugar dissolves and the fruit releases its juices. As the mixture heats up, it will begin to bubble and foam. Skim off any foam that rises to the surface to ensure a clear, glossy jam.
Tip: To enhance the flavour, you can add a splash of lemon juice or a pinch of salt at this stage.
Step 3: Test for Doneness
Cooking time can vary depending on the fruit and your desired consistency. As the jam cooks, it will thicken and darken in colour. To test if the jam is ready, use one of these methods:
- Temperature Test: Use a candy thermometer to check the temperature. Jam sets around 220°F (104°C) at sea level. Adjust for altitude if necessary.
- Wrinkle Test: Place a small plate in the freezer before you start cooking. When you think the jam is ready, spoon a small amount onto the cold plate and let it cool for a minute. Push the edge with your finger—if it wrinkles, it’s done.
- Spoon Test: Dip a spoon into the jam and let it cool slightly. If the jam coats the back of the spoon and doesn’t run off quickly, it’s ready.
Tip: If the jam is too runny, continue cooking and testing every few minutes. If it’s too thick, you can add a little water or fruit juice to thin it out.
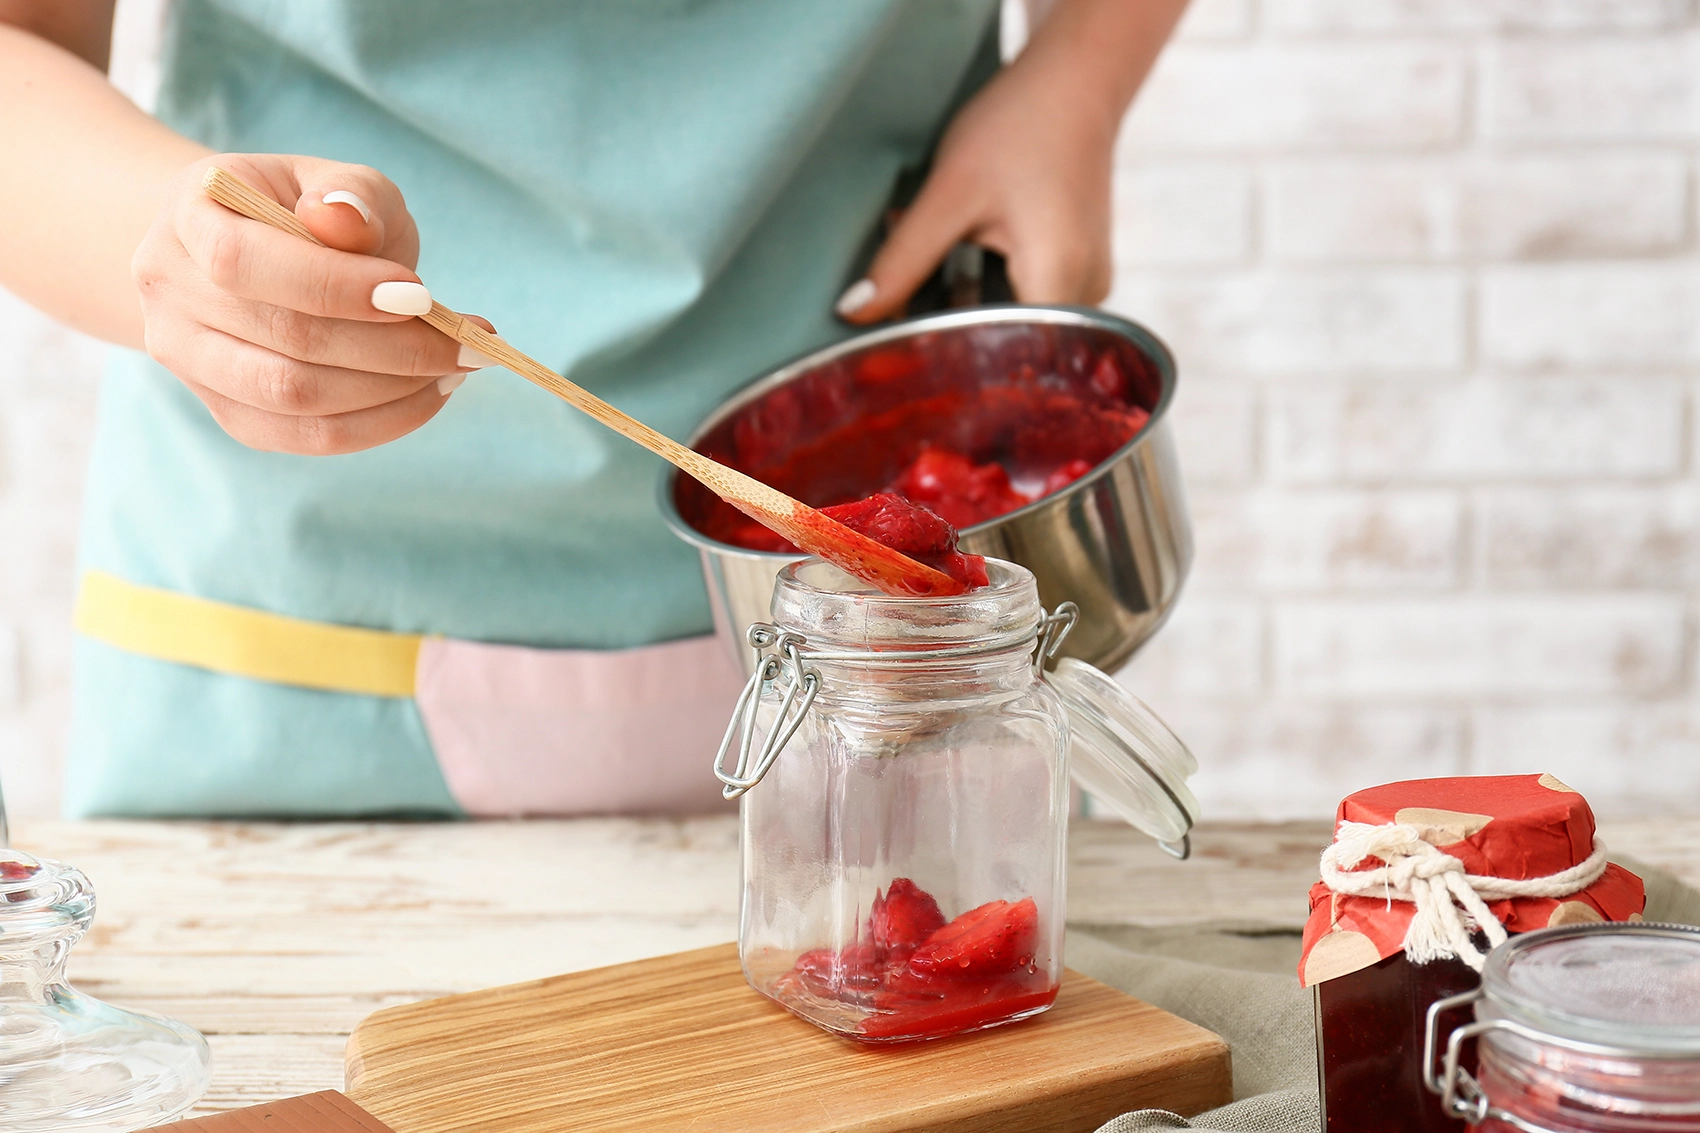
Step 4: Fill and Seal the Jars
Once your jam reaches the desired consistency, remove it from the heat and let it cool for a few minutes. This helps prevent the fruit from floating to the top of the jar.
Sterilise your jars and lids by boiling them in water for 10 minutes, then carefully remove them with a jar lifter. Place a funnel over each jar and ladle the hot jam into the jars, leaving about 1/4 inch of headspace at the top. Wipe the rims clean with a damp cloth to ensure a good seal.
Place the lids on the jars and screw the bands on until fingertip tight. Process the jars in a boiling water bath for 10 minutes to ensure they seal properly. Remove the jars from the water and let them cool completely on a towel or rack. As they cool, you should hear the lids pop, indicating a successful seal.
Tip: After the jars have cooled, check the seals by pressing down on the centre of the lid. If it doesn’t pop back, the jar is sealed. If the lid pops back, the jar isn’t sealed properly, and the jam should be refrigerated and used within a few weeks.
Storing and Enjoying Your Jam
Label your jars with the date and type of jam, then store them in a cool, dark place. Properly sealed jars can last up to a year, but for the best flavour, try to use them within six months.
Homemade jam is incredibly versatile—spread it on toast, swirl it into yoghurt, use it as a filling for cakes and pastries, or even mix it into sauces and marinades for a touch of sweetness.
Troubleshooting Tips
- the jam Didn’t Set: If your jam didn’t set, don’t worry! You can reprocess it by adding more pectin or cooking it longer. Alternatively, use it as a syrup or sauce.
- The jam is Too Sweet: Next time, reduce the amount of sugar or add a bit more lemon juice to balance the sweetness.
- Fruit Floats to the Top: This can happen if the jam is too hot when poured into jars. Let it cool slightly before filling the jars.
Experimenting with Flavours
Once you’re comfortable with basic jam-making, feel free to experiment with different flavour combinations. Try adding spices like cinnamon or vanilla, herbs like basil or mint, or even a splash of liqueur for an adult twist. Mixing different fruits can also yield delicious results—think strawberry-rhubarb, peach-mango, or blueberry-lavender.
Making homemade jam is a delightful way to preserve the taste of fresh fruit and enjoy it all year round. With this guide, you’ll have all the tools and knowledge you need to make a jam that’s bursting with flavour and perfectly set every time. Whether you’re making classic strawberry jam or experimenting with unique combinations, the possibilities are endless. Enjoy the process, and savour the sweet rewards of your homemade creations!
👉 Explore our full range of jam jars and glass bottles, available in bulk packs and perfect for every preserving project.

