
With berry picking season nearly upon us, now is the best time to prepare some delicious recipes at home. One of the most succulent fruits available to pick is the gooseberry. Gooseberries can be consumed in a number of ways, including in pies, tarts, or cupcakes. One of the best ways to enjoy gooseberries is as a jam. Making gooseberry jam at home is a simple process, requiring little more than a jar with a lid, and basic kitchen utensils and ingredients. Therefore, here is our step-by-step guide on how to make gooseberry jam.
What You Need To Make Gooseberry Jam
Before you start making your gooseberry jam, you will need the following:
- 1 kg of gooseberries
- 1/2 lemon
- 1 kg granulated sugar
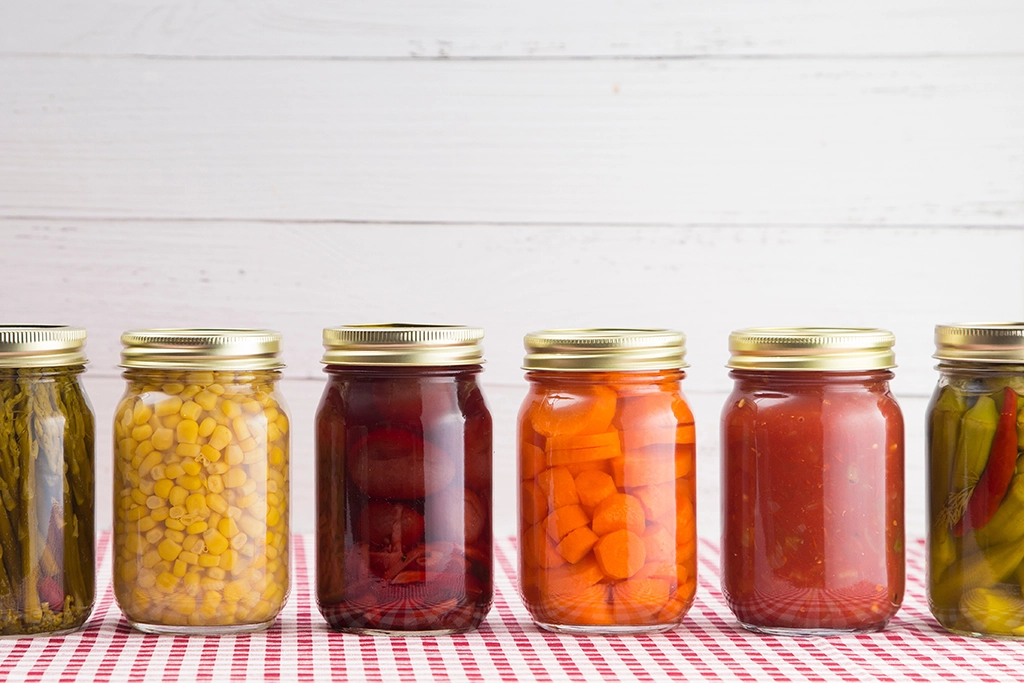
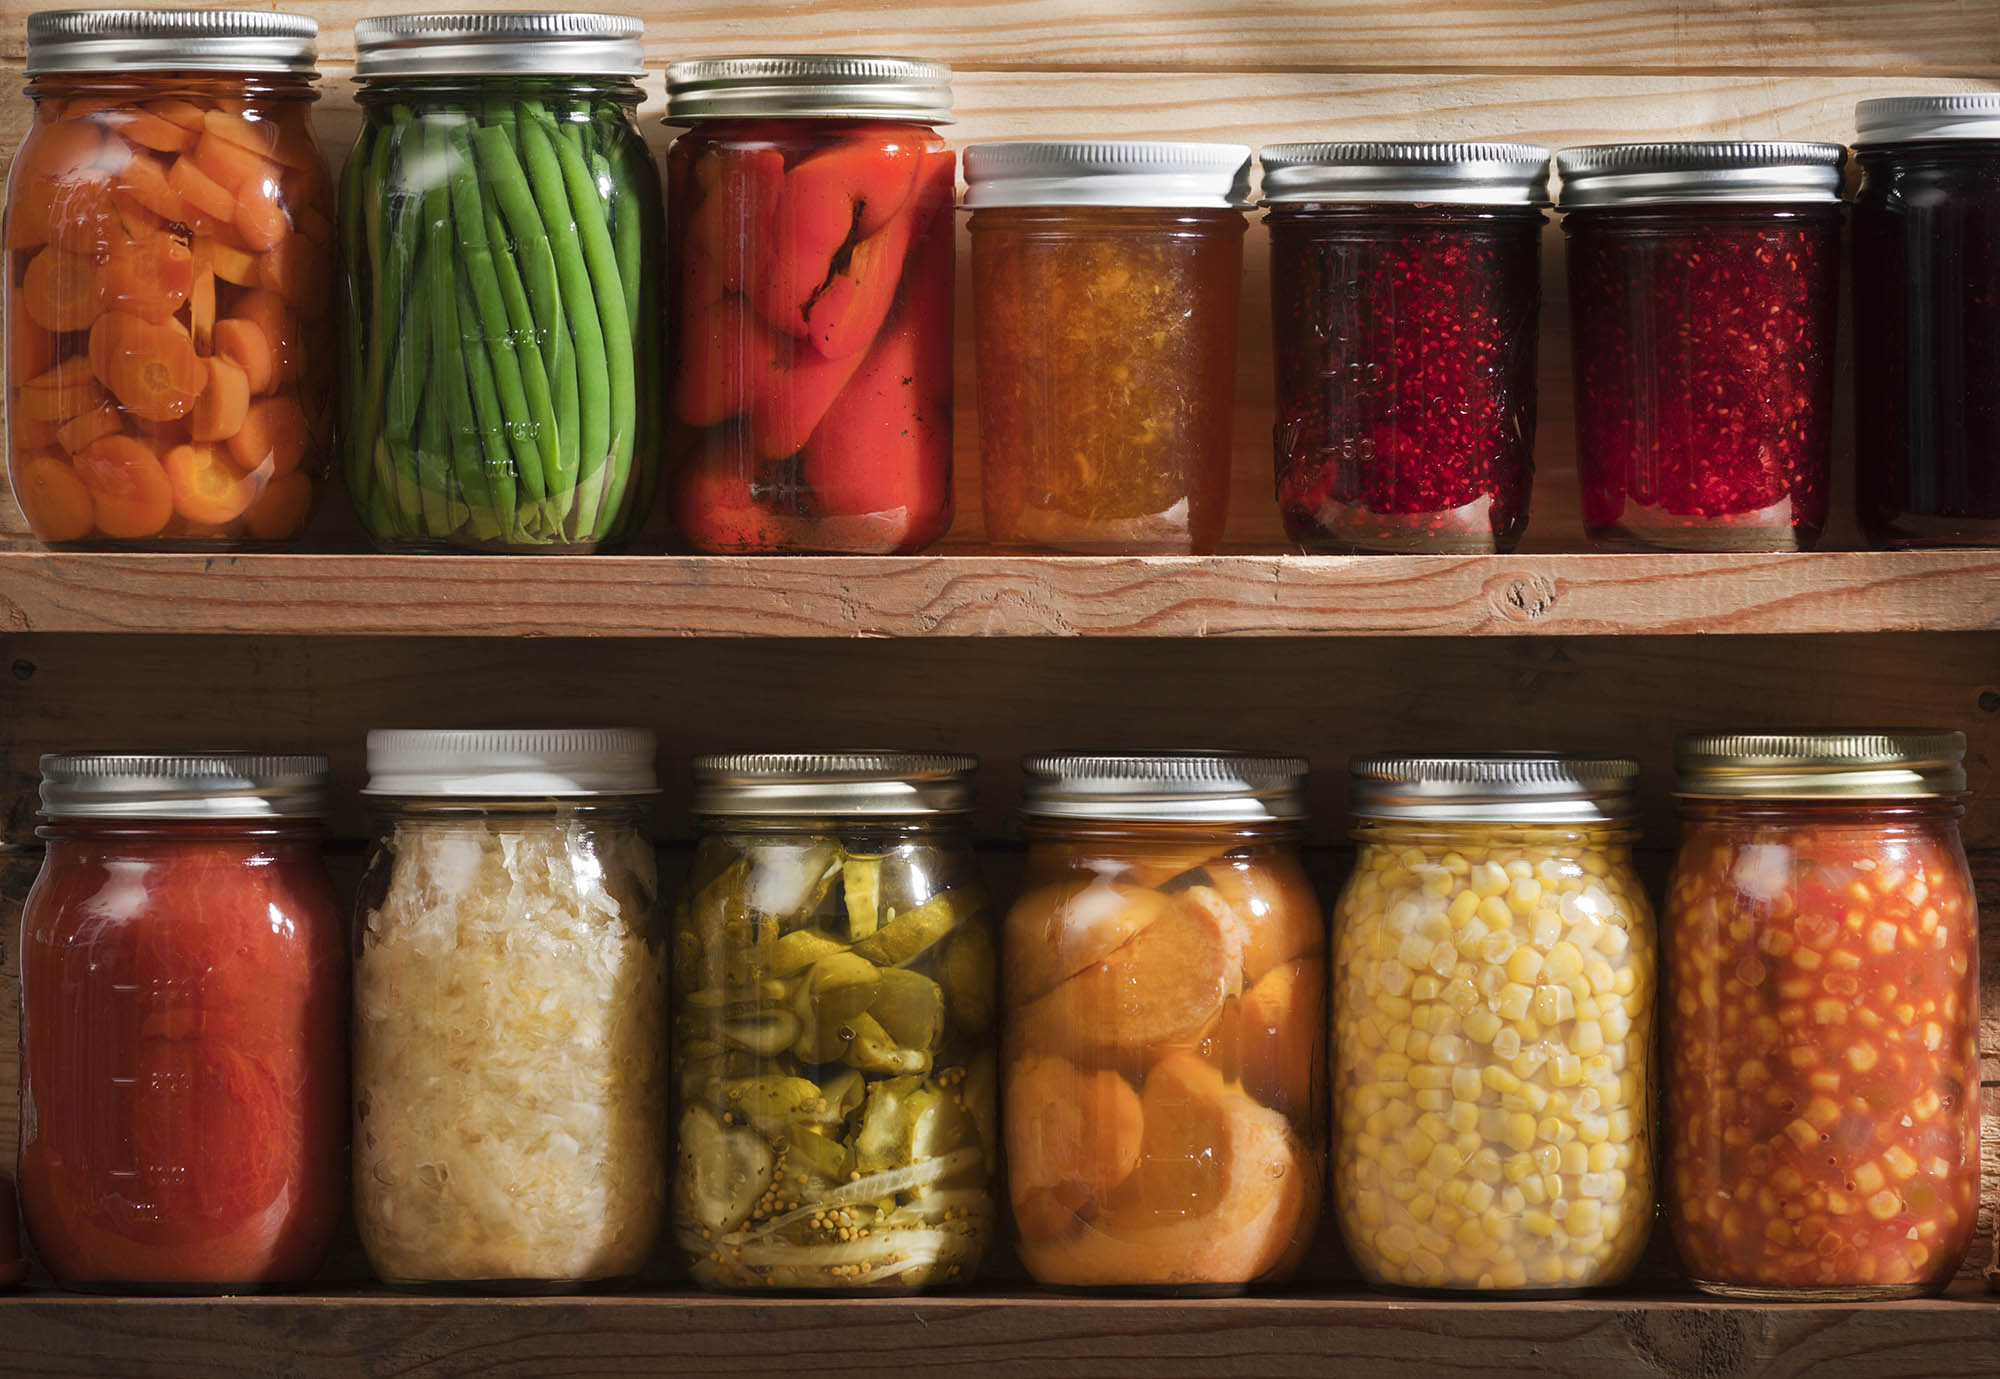
- 3 jam jars
- 3 jam lids
- 1 baking sheet or tray
- 1 saucepan
- 3 small plates
- 1 spoon
Step One – Clean the Jars
Before you start preparing your gooseberry jam, you need to make sure your jam jars are clean and sterile. First, thoroughly wash your jars in hot and soapy water, then rinse them in hot water. Put your jars on a baking sheet or tray and put them in your oven. Set the temperature to 140 C if you have a fan oven and 120 C for gas. Once the jars are dry, turn off the oven and remove your jars.
Step Two – Prepare and Boil the Gooseberries
Remove the blossoms and stems from the gooseberries, wash them, and put them in a saucepan with 400 ml of water. Squeeze out the juice from the ½ lemon and add it to the gooseberries in the water. Bring the water and fruit to a boil, then let it simmer for about 15 minutes. The gooseberries should now have turned into a soft pulp.
Step Three – Add Sugar to the Mixture
Before you continue, take your three small plates, and place them in the freezer. This will become useful for testing your jam later. Add sugar to the saucepan and stir over gentle heat. After 10 minutes or so, the sugar should be entirely dissolved. Once the sugar has dissolved, bring the mixture to a hard boil for 10 minutes. Keep stirring to ensure the mixture does not stick.
Step Four – Test the Mixture
By now, the mixture should have taken on a reddish hue and be syrupy in consistency. Take one of your small plates from the freezer and use your spoon to place a small amount of the mixture on it. Leave it to cool, then run your finger through it. If the mixture wrinkles up, then your jam is ready. If not, boil for another five minutes and repeat the testing process until ready.
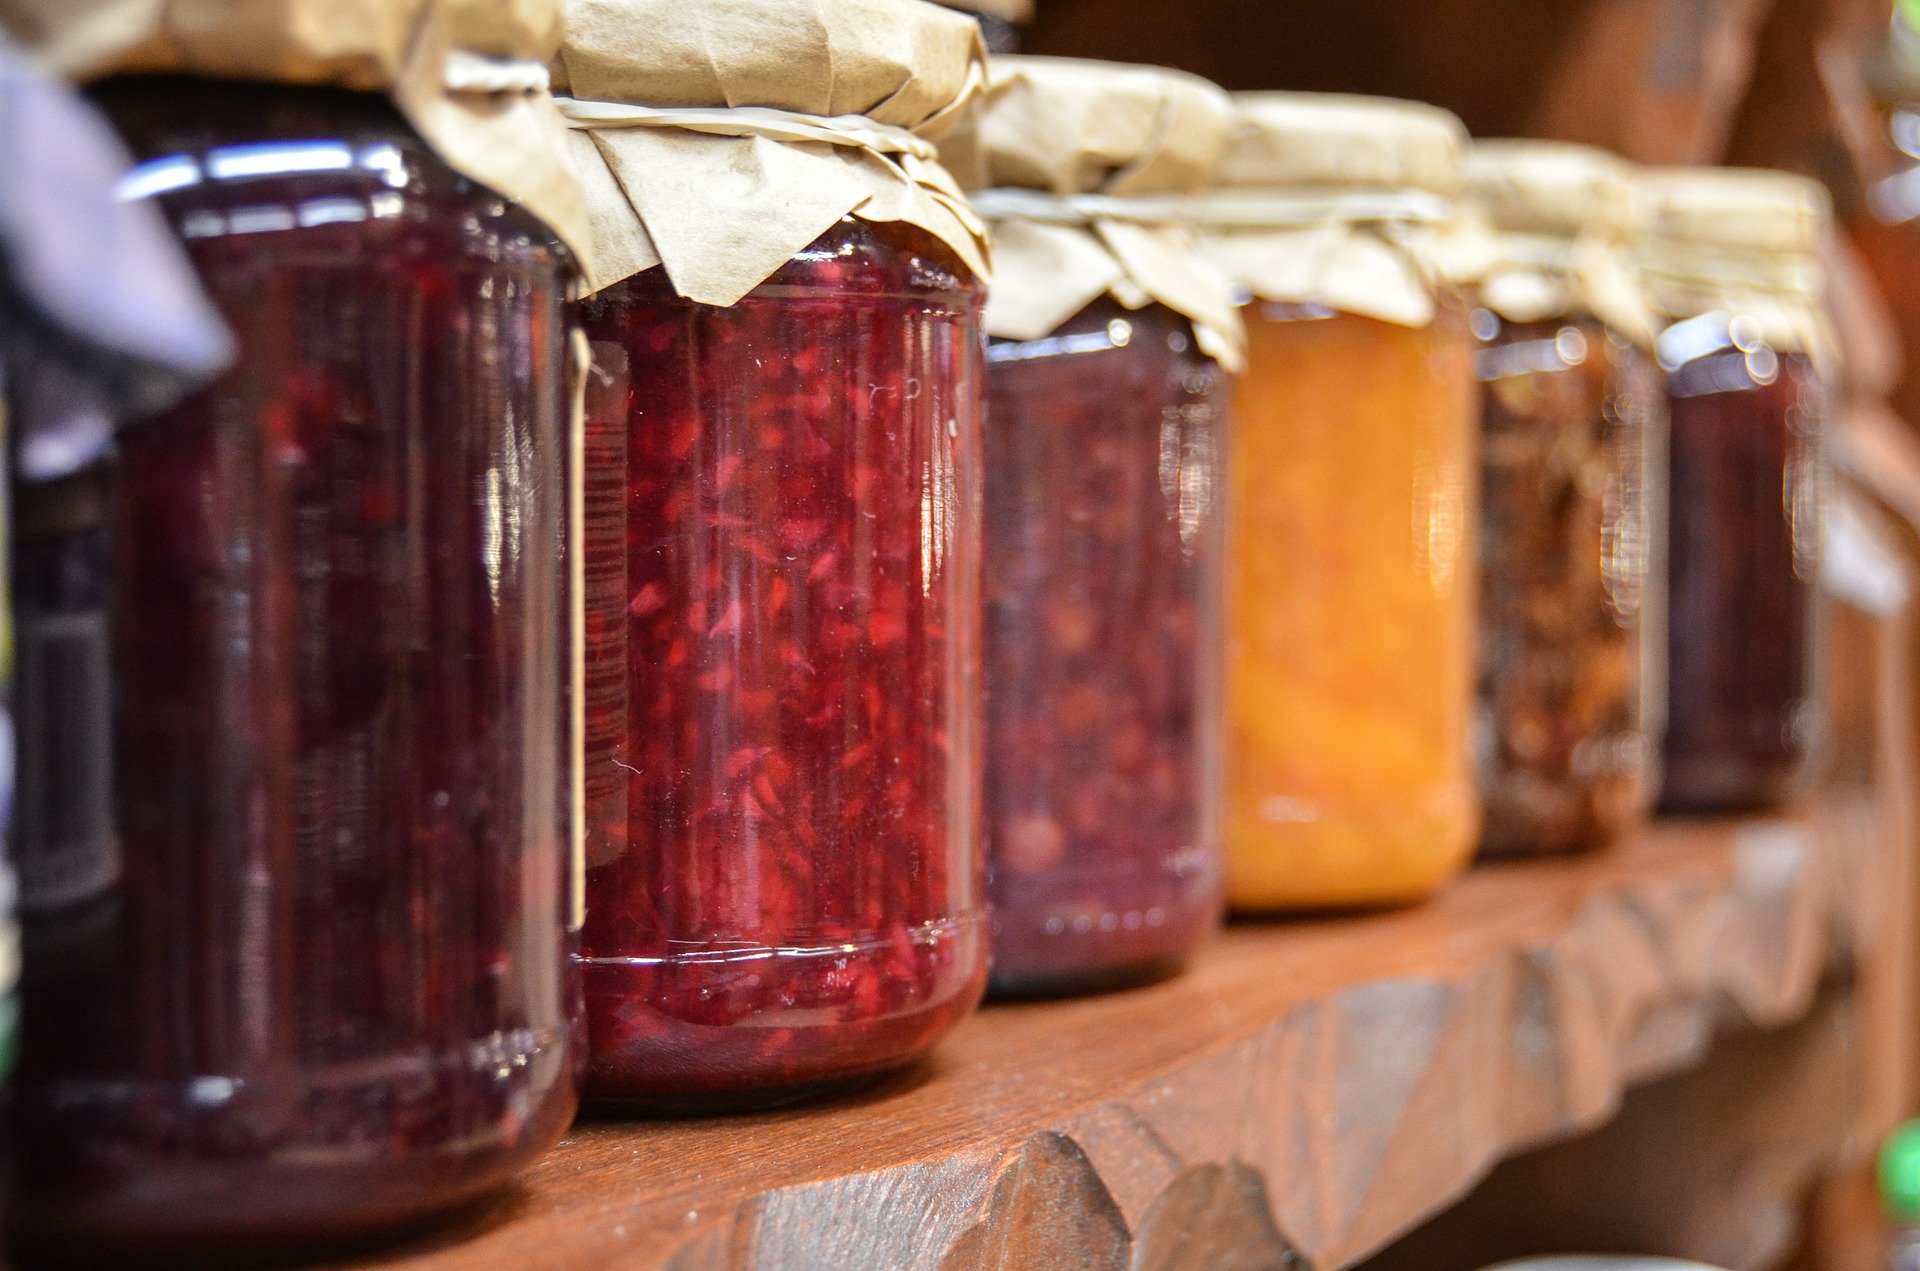
Step Five – Store Your Jam
Once you are satisfied that your jam is cooked, pour it into each jam jar and seal them with a jam lid. Store your jam in a cool and dark place until ready for use. Once opened, store your jam in the fridge. Each jar should keep for around six months.
The Bottle Jar Store
If you are looking for quality jars for making jam, then we have quite the selection here at The Bottle Jar Store. We offer a wide range of round glass jars and airtight jam jar lids that are perfect for storing jam and other condiments. We invite you to browse our range of products or get in touch with us today to find out more about what we have to offer.