
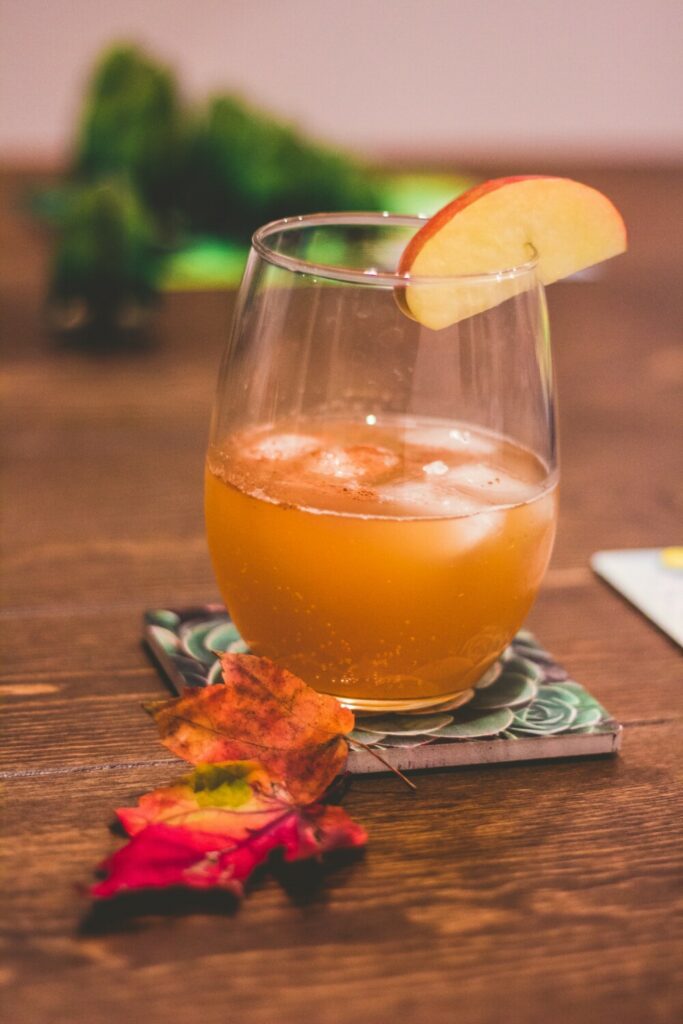
With apple picking season fast approaching, now is the time to prepare some delicious homemade recipes for autumn. Apples are a versatile fruit that can be baked, poached, pulped or just enjoyed raw. One of the best ways to consume apples is by learning how to make apple cider. Making apple cider is a very simple process and can be done easily without the need for complex equipment. So, here is a step by step guide on how to make apple cider at home.
Step One – Prepare the Apples
When working out how to make apple cider the first thing you need is the apples themselves. Whether you pick your own apples or purchase them in bulk, make sure they are ripe enough for use. To do this, cup the apple in your hand and twist gently. If it comes away easily then that is a good indicator of ripeness. Avoid using any bruised apples or ones that have begun to rot. Make sure the apples are well washed and cleaned before use.
Step Two – Prepare the Equipment
Wash and sterilise your juicing equipment and make sure your hands are clean. Prepare your juicer by attaching the hose to the juicer spout and feeding it into a straining bag. Place the bag into a straining bucket: you can make your own straining bucket by drilling about 30 small holes in the bottom. Finally, place the straining bucket inside the larger brewing bucket.
Step Three – Juice and Strain the Apples
Fill the juicer with apples and begin juicing. Empty the pulp container when it fills up, making sure to regularly clean the mesh. Once juicing is complete, let the mixture strain into the bucket. Ensure no pulp gets into the mixture as this will spoil the final product. Add 5g of dried champagne yeast to a sample of apple juice to begin the fermentation process. After half an hour stir the contents to disperse the yeast. Pour it into a container, then add the rest of the juice and seal.
Step Four – Ferment the Cider
After about an hour you should begin to notice bubbles appearing which will indicate that fermentation has started. Keep the container in an area between 15-20°C for about 3-4 weeks. After this period you should have clear cider ready. Check the contents with a hydrometer: if the reading is one or less, then the cider is ready. If the reading is higher, then you will need to ferment it for longer.
Step Five – Finish Your Brew
Bottle your cider using high quality glass bottles. If you want still cider, bottle the cider as it is. If you want sparkling cider, add half a teaspoon of white sugar to each bottle and ferment it for a few more weeks. Once cleared, you can enjoy your cider now or leave it in a cool storage location to drink while making next year’s batch.
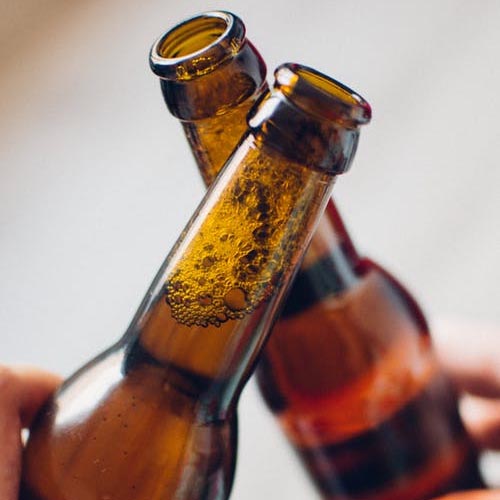
The Bottle Jar Store
Now that you know how to make apple cider, you will need the best quality bottles to contain it. At The Bottle Jar Store we offer a range of products that are perfect for making cider, beer and other home brews. To find out more about our range of cider bottles please visit our online store or get in touch with us today.