
Candles are one of the easiest and most satisfying pieces of home décor you can create yourself. Candle making is an extremely rewarding activity, allowing you to design home décor items that are attractive, practical and easy to customise.
Making your own candle can save money, allow you to choose interesting ingredients, and is better for the environment than many store-bought brands. A homemade candle has a wide range of uses, from lighting in the event of a power blackout to ambient lighting to set the mood for a romantic evening. Best of all candle making is very easy, great as a hobby, to sell or for gift giving. Here is our guide to making your own candle at home.
Ingredients
- A package of candle wax.
- A package of large candle wicks.
- A bottle of fragrance oil.
- Spatula.
- Heat-proof container.
- Double boiler pot.
- Thermometer.
- A pair of chopsticks or pencils.
Making Your Own Candle
-
-
-
- Before you begin making your candle, ensure the surface you intend to work on is flat and clean. Lay down a protective covering such as newspaper if necessary and make sure your work surface is clear.
- Measure out the correct amount of wax you need to fill your container. You will need to double this amount to get the proper measurement of wax needed to melt.
- Pour the wax into the double boiler pot and melt it for a period of up to 15 minutes. Stir frequently throughout the process.
- Once the wax has melted, add the fragrance oil to the mixture and stir it in for a few seconds.
- Attach your large candle wick to the bottom of the heat-proof container. You can do this by either supergluing it or dipping it in the molten wax and quickly sticking it to the bottom, letting it harder for five minutes.
- Let the wax in the pot cool for a few minutes, then measure the temperature with your thermometer. Once the temperature of the wax reads 60C, it is time for the next step.
- Slowly pour the molten wax into the candle jar with the wick attached. Make sure to hold the wick upwards while being careful not to pull on it. Leave a small amount of wax in the pot for topping off later.
- To ensure your wick stays in place, secure it with two chopsticks or pencils laid across the top of the container. Bring the sticks together so they hold the wick in place in the centre of the container.
- Allow the wax to cool for four hours at room temperature. If any cracks or holes appear in the hardened candle, reheat the remaining wax in your pot and pour it over the affected areas.
- Once done, cut the wick so that it is just under 1.5 cm long. If the candle flickers when lit or the flame is too tall, trim the wick further.
-
-
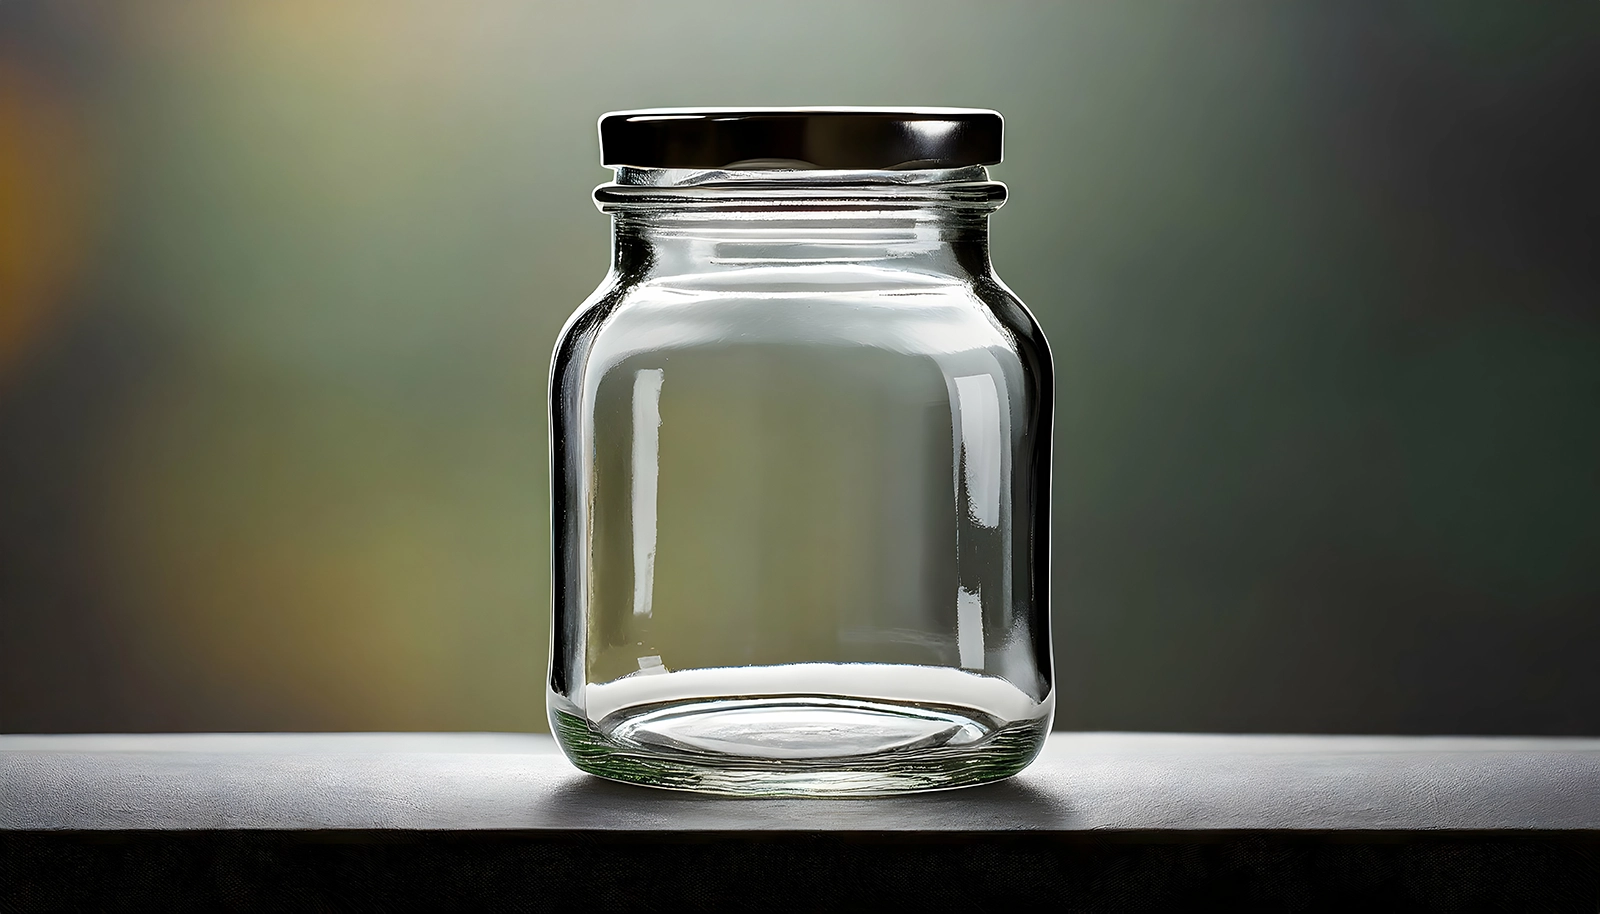
The Bottle Jar Store
Our range of glass jars is a perfect choice if you are considering making candles! Feel free to browse our attractive collection of jars and more!