When making homemade jams, chutneys, craft beers, or wines, sterilising your glass jars and bottles is essential. Without proper sterilisation, harmful bacteria can spoil your creations, affect taste, and shorten shelf life.
As autumn arrives and kitchens fill with the scent of chutneys and spiced plum jam, it’s the perfect time to make sure your jam jars and bottles are properly prepared. The good news? Sterilising glass containers at home is simple, and you don’t need any specialist equipment.
In this guide, we’ll show you three easy ways to sterilise glass jars and bottles, along with extra tips to keep your containers safe, clean, and ready to use for the season ahead.
Why Sterilise Glass Jars and Bottles?
-
Prevents spoilage and mould growth.
-
Keeps food and drink fresh for longer.
-
Maintains flavour and quality.
-
Essential for home canning, preserving, brewing, or winemaking.
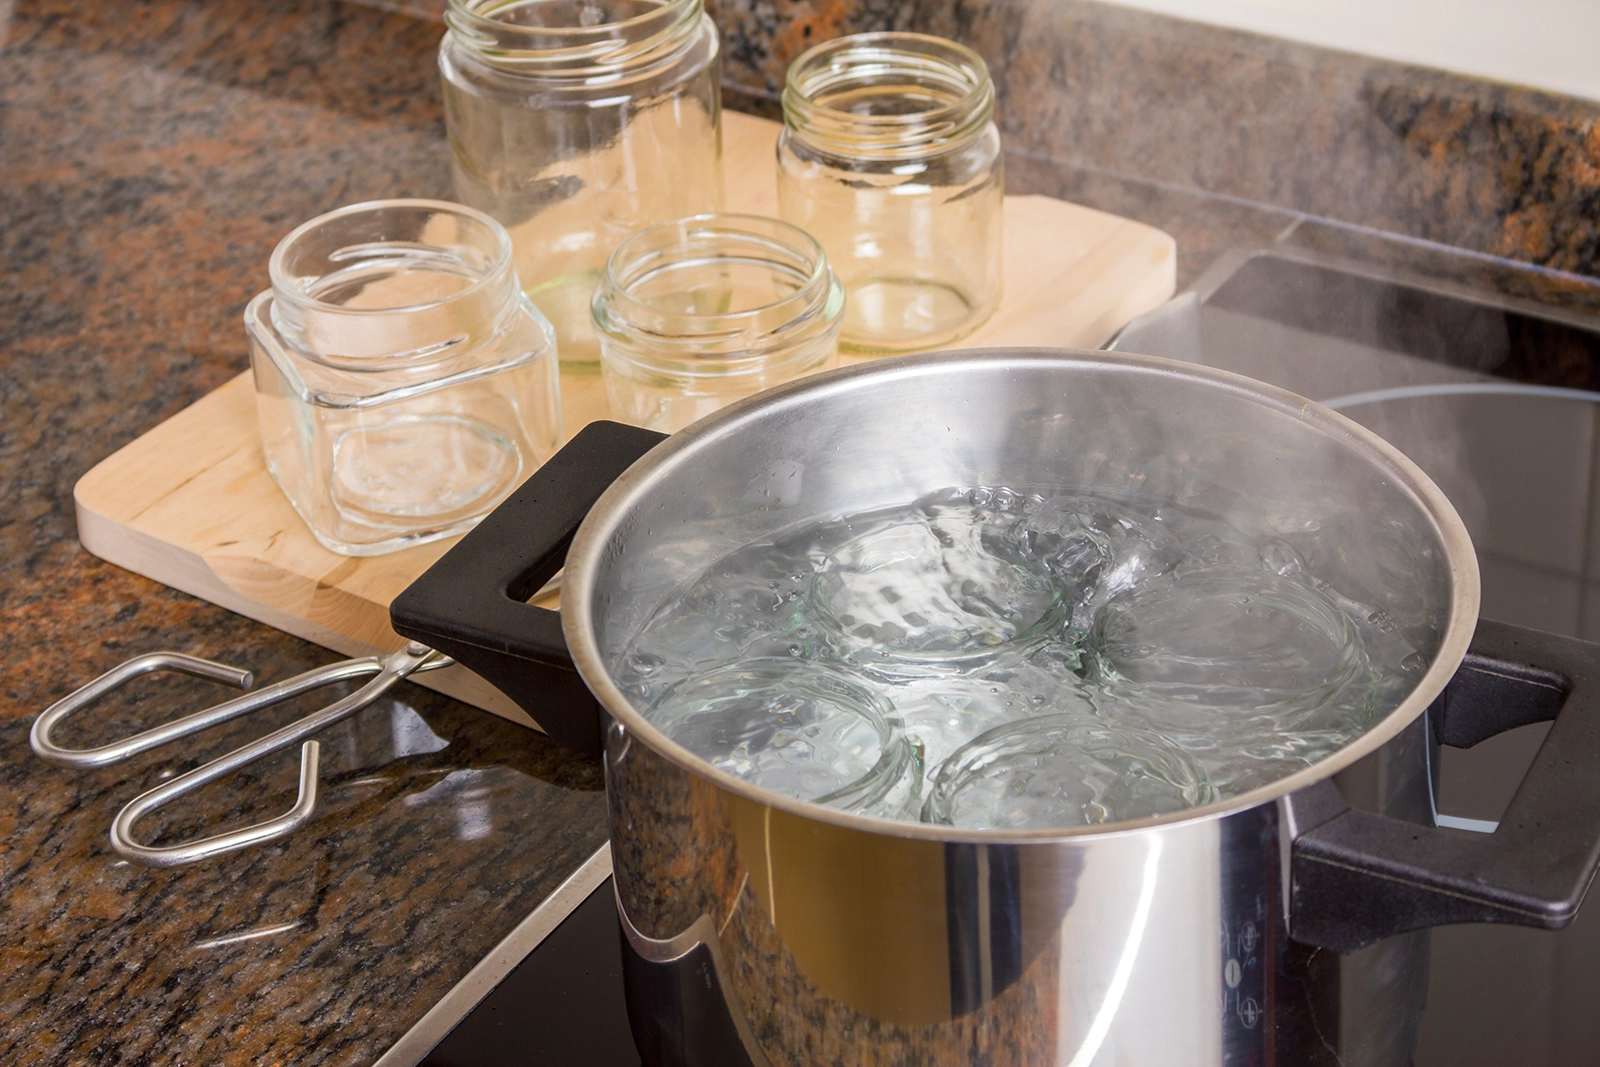
Boiling Water Sterilisation
Boiling is the most traditional and effective way to sterilise jars and bottles. It requires minimal equipment and guarantees thorough sterilisation – making it ideal for small batches of autumn chutney or seasonal fruit preserves.
What You’ll Need:
- Glass jars or bottles
- A large pot with a lid
- A rack or cloth to line the bottom of the pot (to prevent the glass from cracking)
- Tongs or a jar lifter
- Water
Step-by-Step Method:
-
Wash thoroughly – Clean the jars and bottles with hot, soapy water. Scrub with a brush, then rinse well.
-
Prepare the pot – Line the base with a rack or folded cloth, then fill with enough water to cover your jars.
-
Submerge jars – Place jars into the pot, ensuring they’re completely submerged. Add water inside the jars to prevent floating.
-
Boil – Bring to a rolling boil, cover with the lid, and maintain for 10 minutes.
-
Remove and dry – Carefully lift jars out with tongs and place on a clean towel to air dry.
This method is great for small to medium batches, but does require some time and attention.
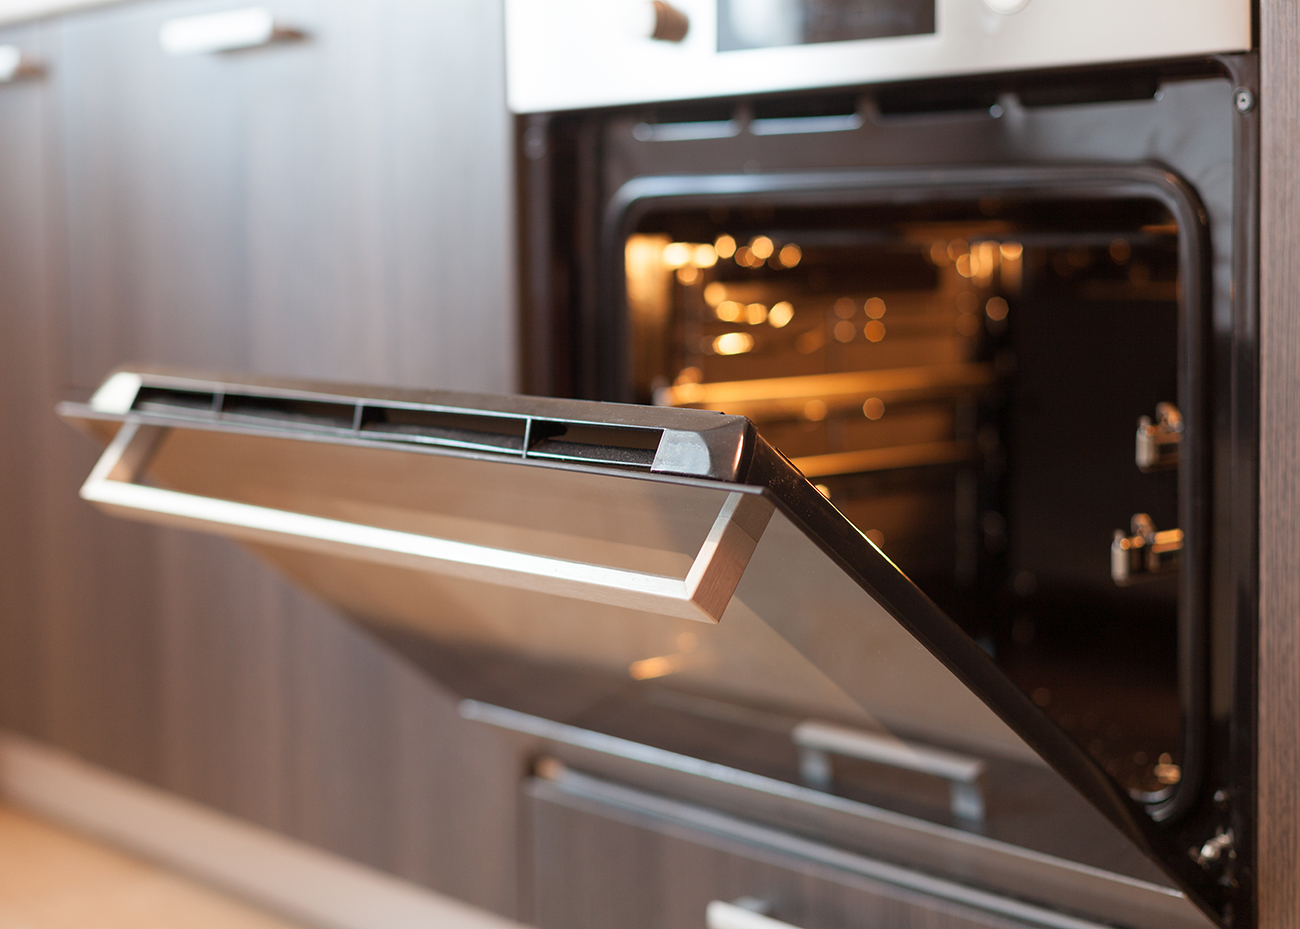
Oven Sterilisation
Oven sterilisation is an excellent alternative to boiling, especially if you need to sterilise a large batch of jars simultaneously. It’s efficient and can be particularly useful if you’re already using the oven for other preparations. This method provides dry heat that is effective in killing potential contaminants, making it suitable for longer storage durations.
What You’ll Need
- Glass jars and bottles
- An oven
- A baking sheet
- Oven mitts
Method
- Clean Thoroughly: Wash the glass jars and bottles thoroughly with hot, soapy water. Scrub the insides using a bottle brush to ensure all residue and dirt are removed. Rinse thoroughly to eliminate any soap residue.
- Preheat the Oven: Set your oven to 225 degrees Fahrenheit (about 110 degrees Celsius). It’s important not to exceed this temperature as higher heat could damage the glass.
- Prepare the Jars: Arrange the clean, empty jars on a baking sheet, making sure they do not touch each other to prevent them from cracking due to uneven heating.
- Sterilise: Place the baking sheet with jars in the preheated oven. Sterilise the jars for at least 20 minutes. This duration ensures that all harmful organisms are effectively killed.
- Remove and Cool: Carefully remove the baking sheet from the oven using oven mitts. Let the jars cool on the baking sheet in a safe, undisturbed area until they reach room temperature.
This dry-heat method is especially useful if you plan to store preserves or bottled drinks for longer periods over the winter.
Dishwasher Sterilisation
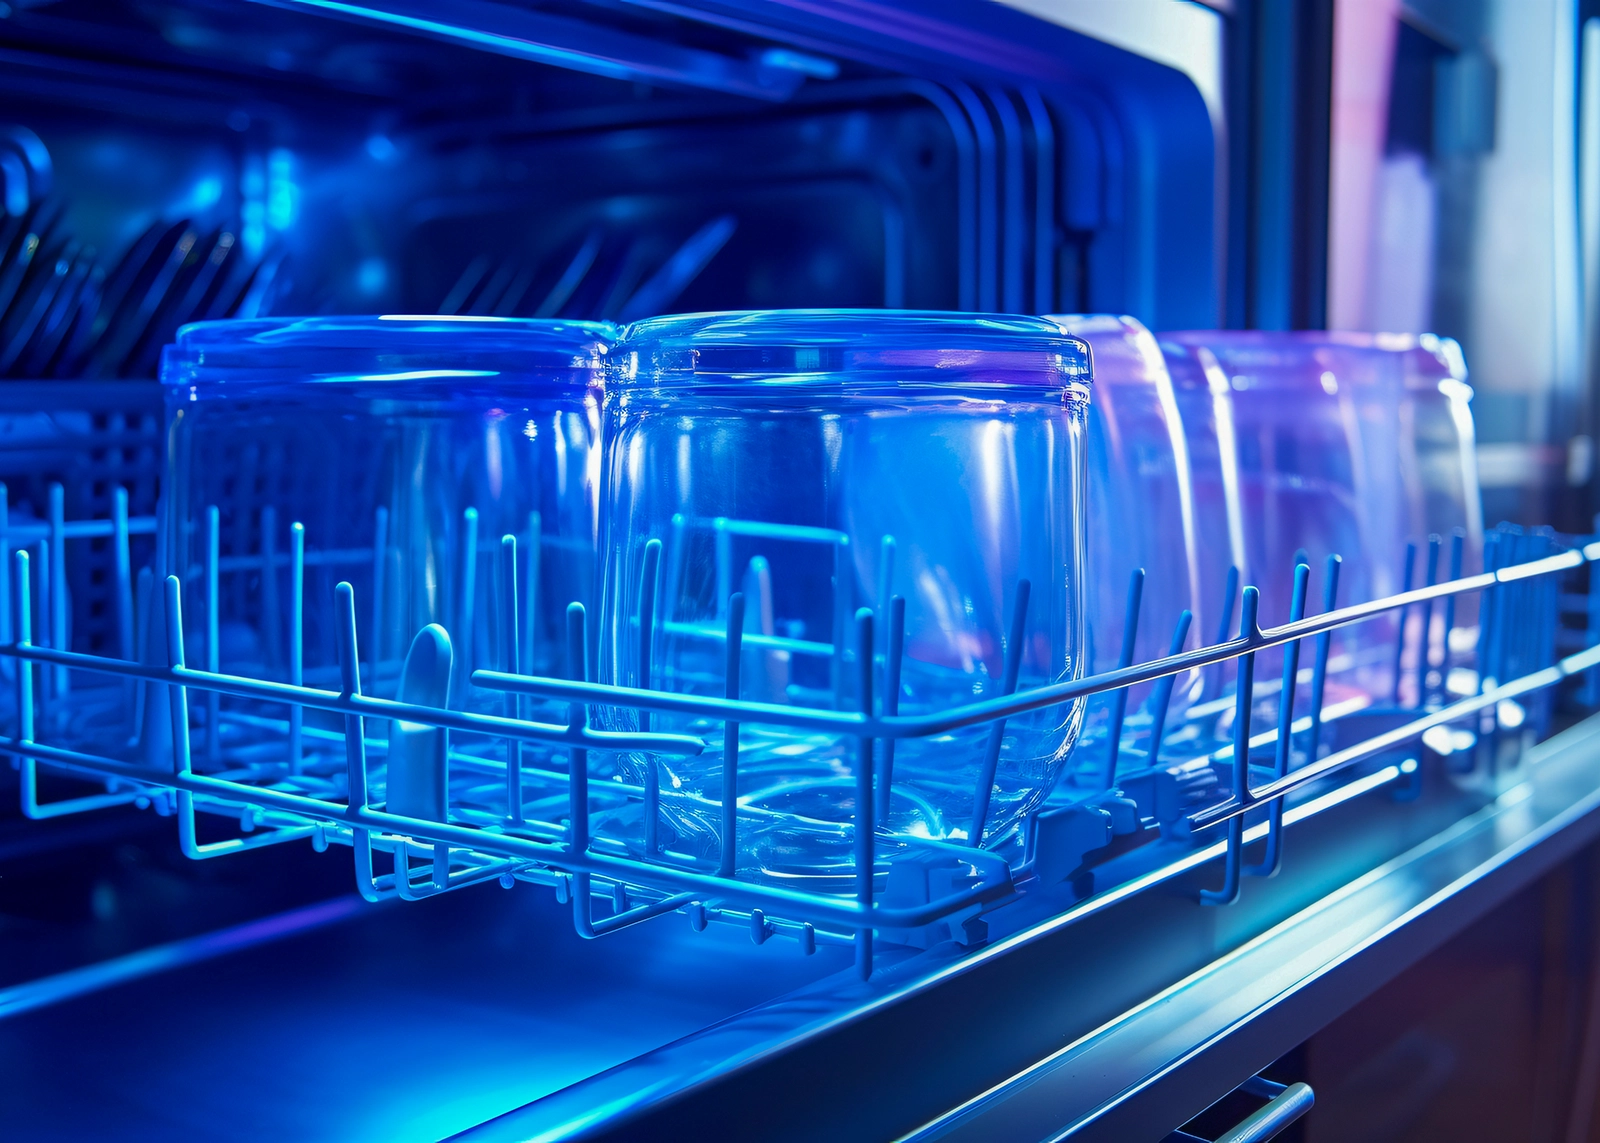
Dishwasher sterilisation is a convenient and efficient option for those who have a dishwasher with a hot wash and dry cycle. It’s especially practical for busy individuals or for those who are processing a large number of jars at once, ahead of Christmas gifting or making homemade drinks like sloe gin. This method uses the dishwasher’s built-in heat and steam to clean and sterilise, making it a hands-free, low-effort choice for ensuring your jars and bottles are ready for use.
What You’ll Need
- Glass jars and bottles
- Dishwasher
- Dish detergent (optional)
Method
- Load the Dishwasher: Place your clean jars and bottles in the dishwasher. Ensure that they are spaced well apart to allow the hot water and steam to circulate freely around each jar, providing thorough sterilisation.
- Set to Hot Wash Cycle: Select the hottest wash and dry cycle available on your dishwasher. This setting will use high temperatures to clean and sterilise the jars effectively. If your dishwasher has a “sanitise” setting, use it, as it is designed to achieve a higher level of sterilisation.
- Run the Dishwasher: Start the dishwasher and let the cycle complete. The combination of hot water and steam during the washing and drying phases will sterilise the jars.
- Remove and Use: Once the cycle is finished and the jars have cooled slightly but are still warm, remove them from the dishwasher. For the best sterilisation results, use the jars while they are still warm.
Dishwasher sterilisation is particularly useful if you are preparing jars for canning and have other tasks to manage; it allows you to multitask efficiently. Plus, it’s an excellent method for those seeking a straightforward, automated way to ensure their jars are impeccably clean and ready for filling.
Additional Tips
- Always handle sterilised jars with clean hands, or consider wearing gloves to keep them sterile.
- If you’re filling the jars with food for preservation, ensure that the food is prepared and ready to be jarred as soon as the jars are sterilised.
- Never pour cold contents into a hot jar, as this can cause the glass to shatter.

