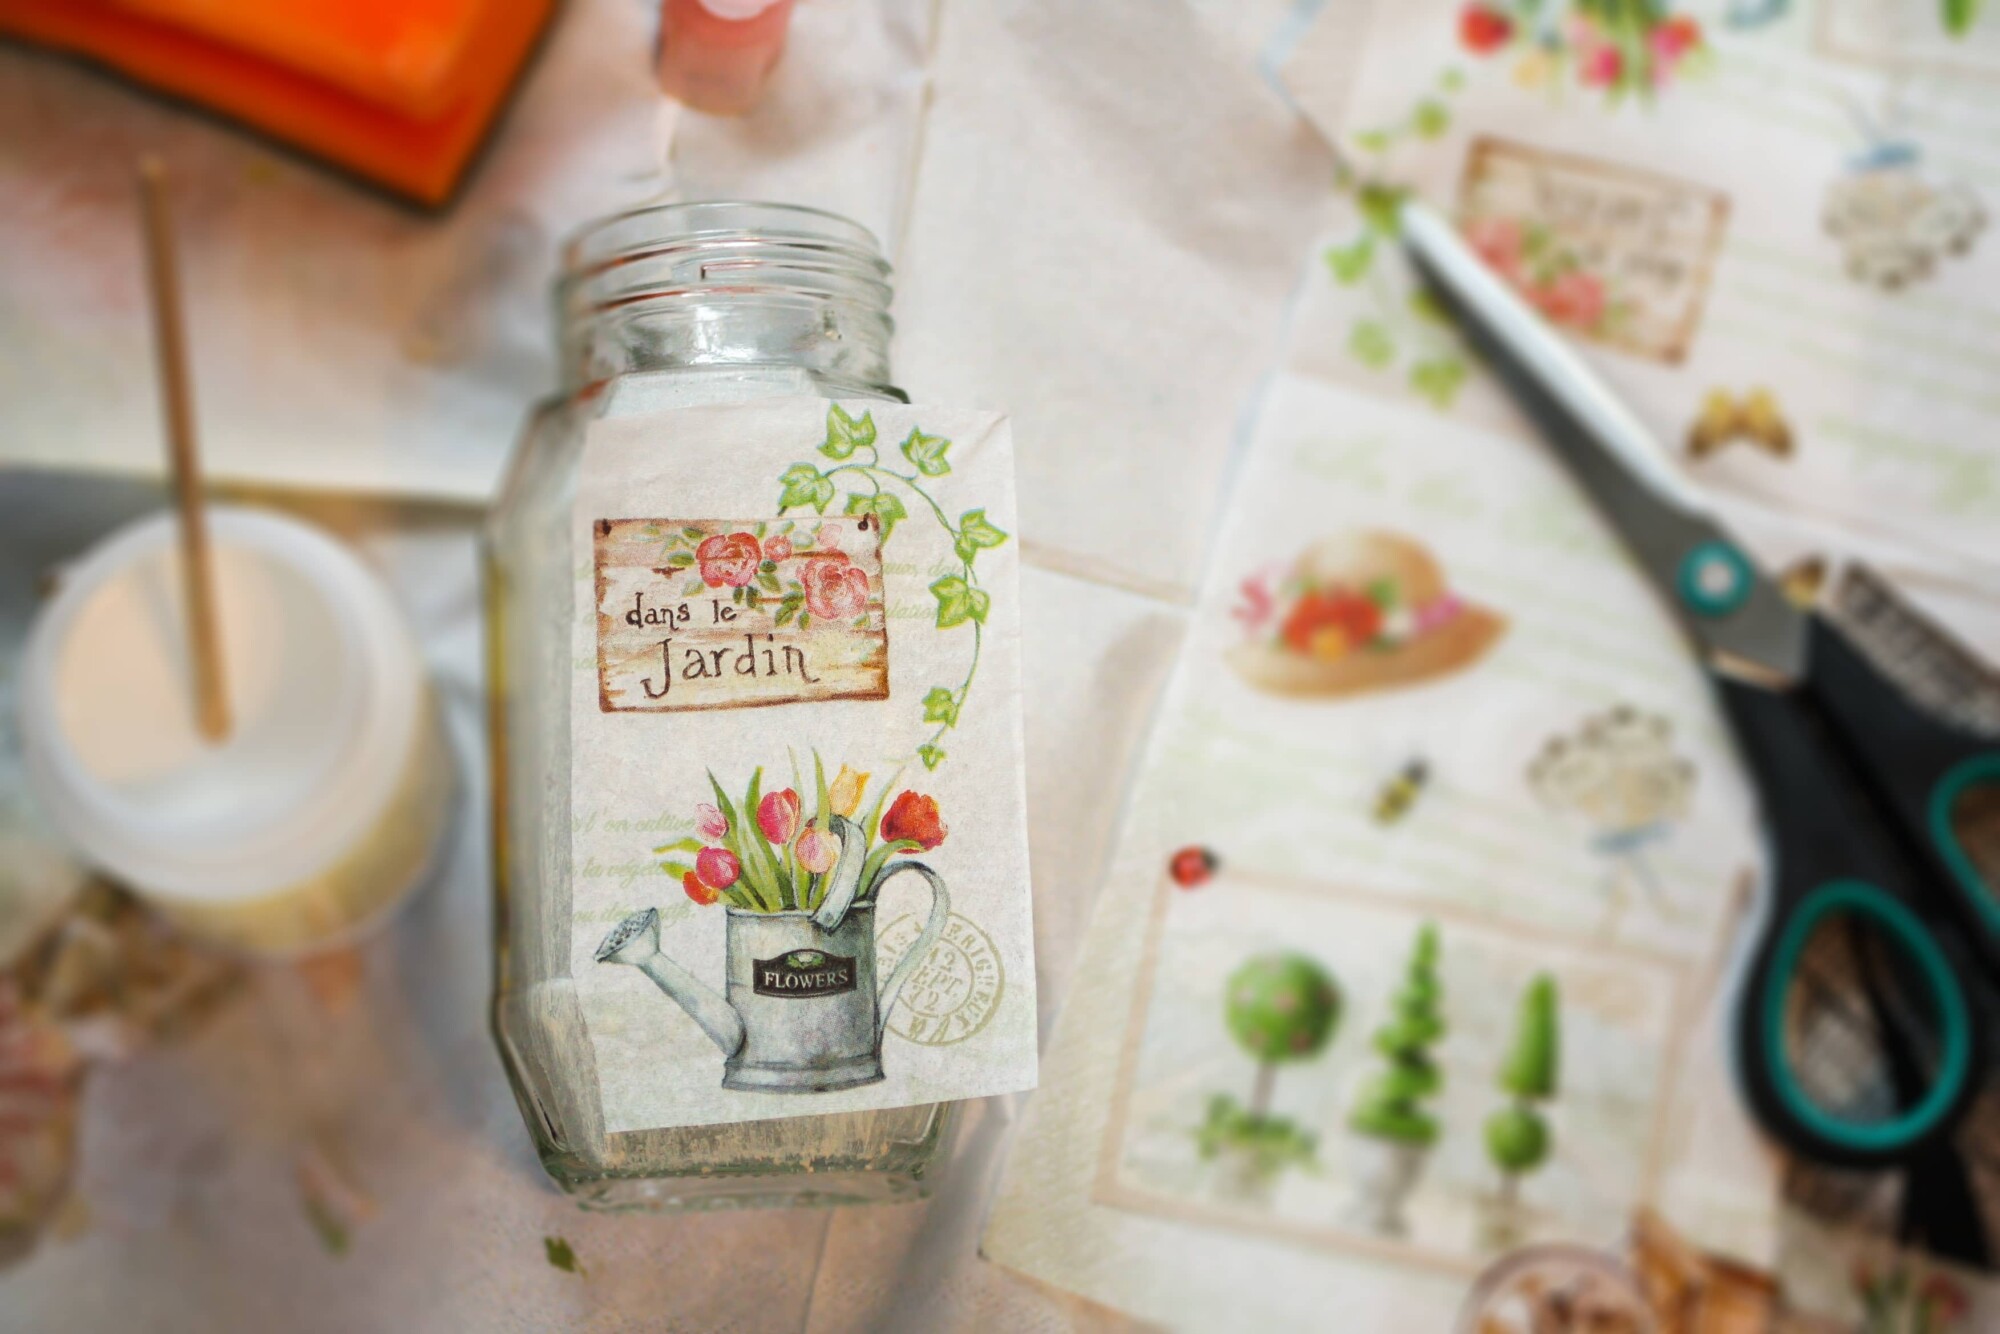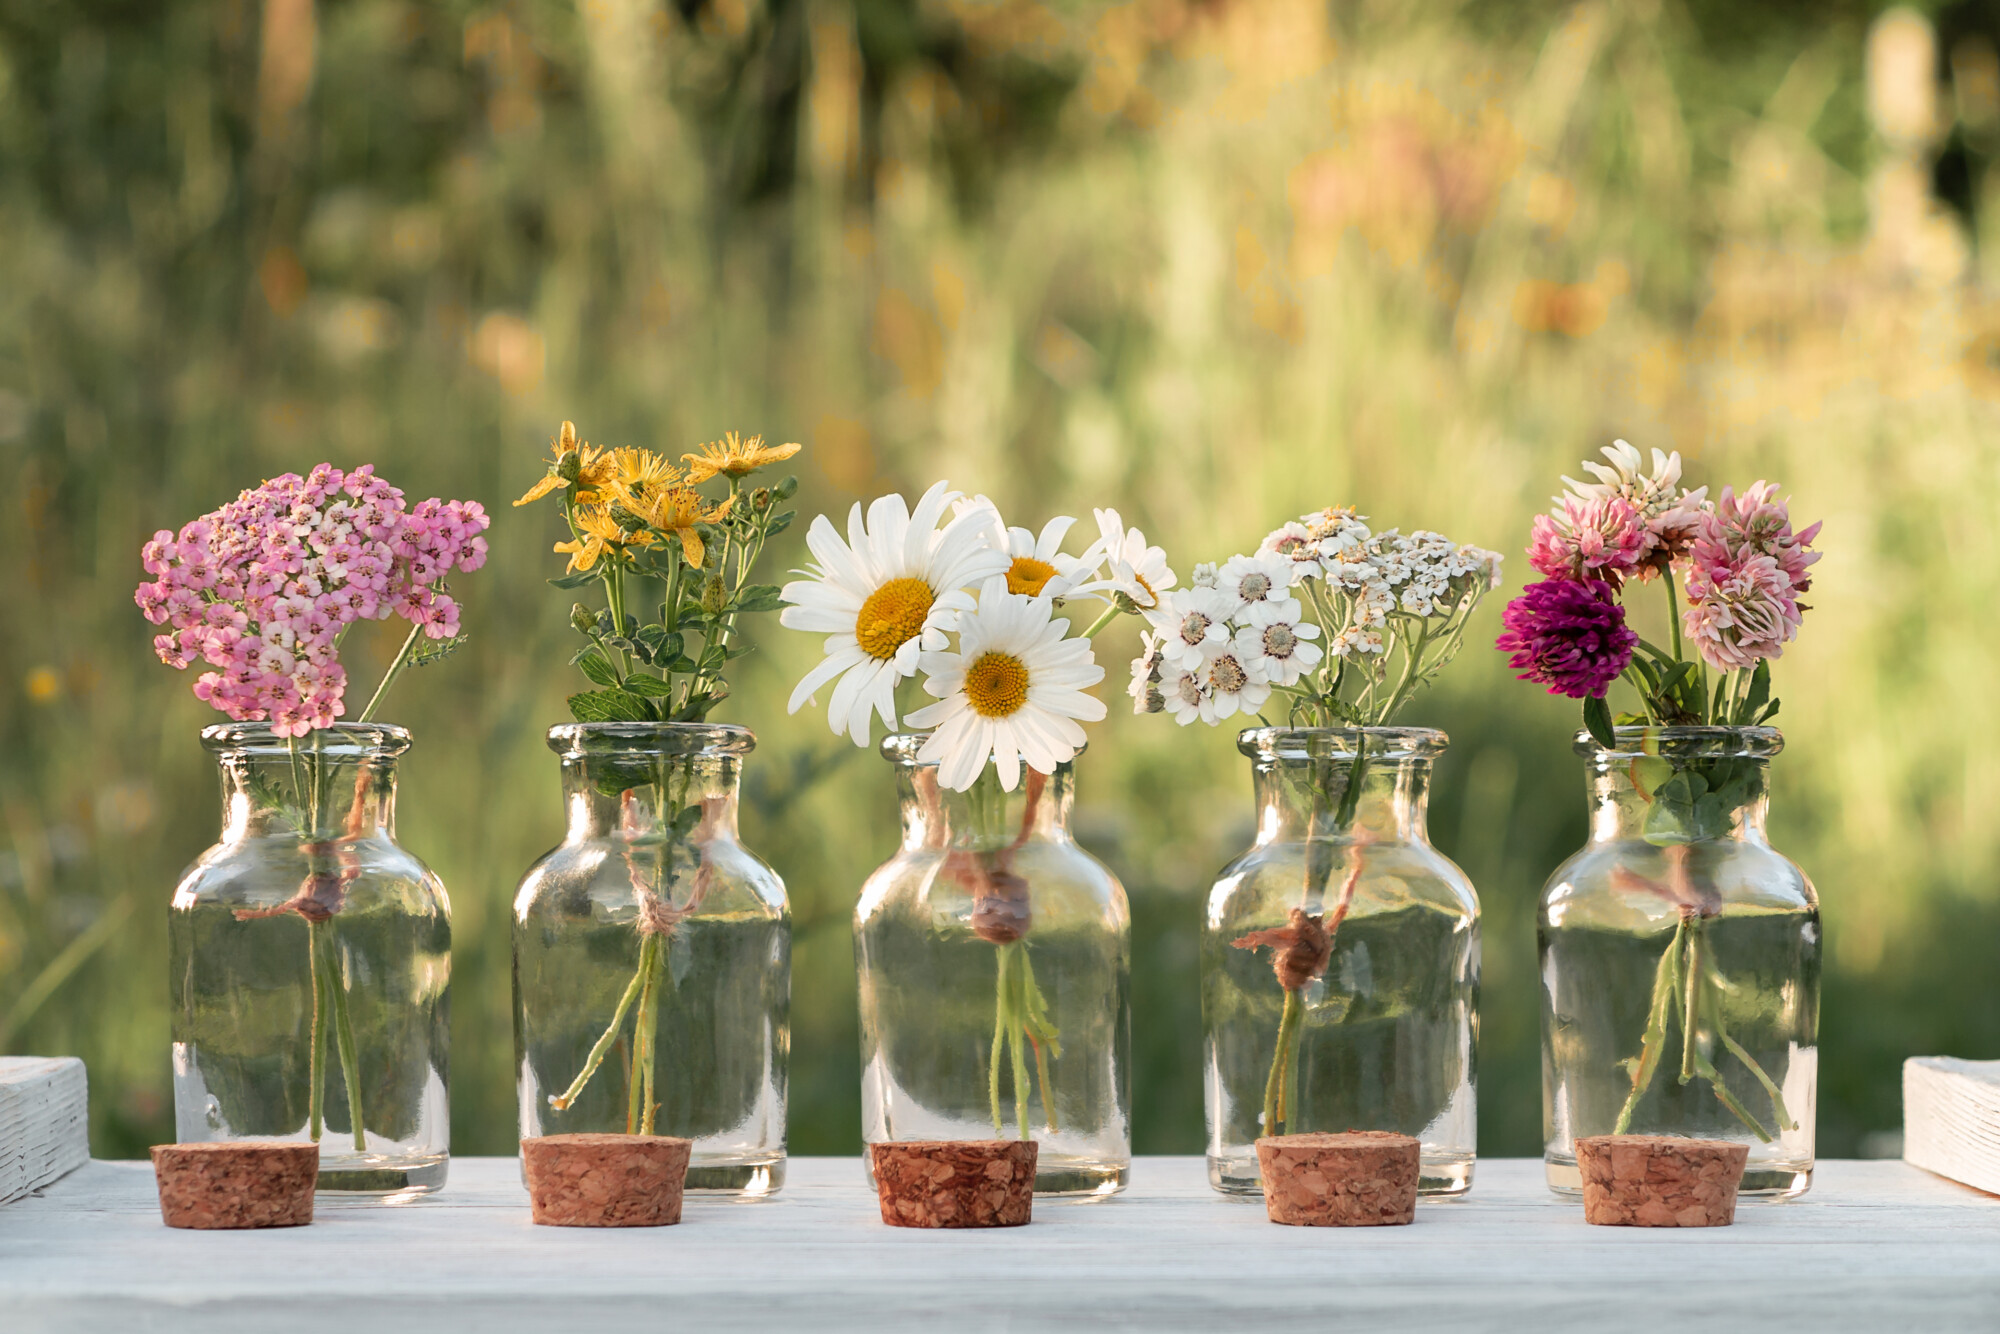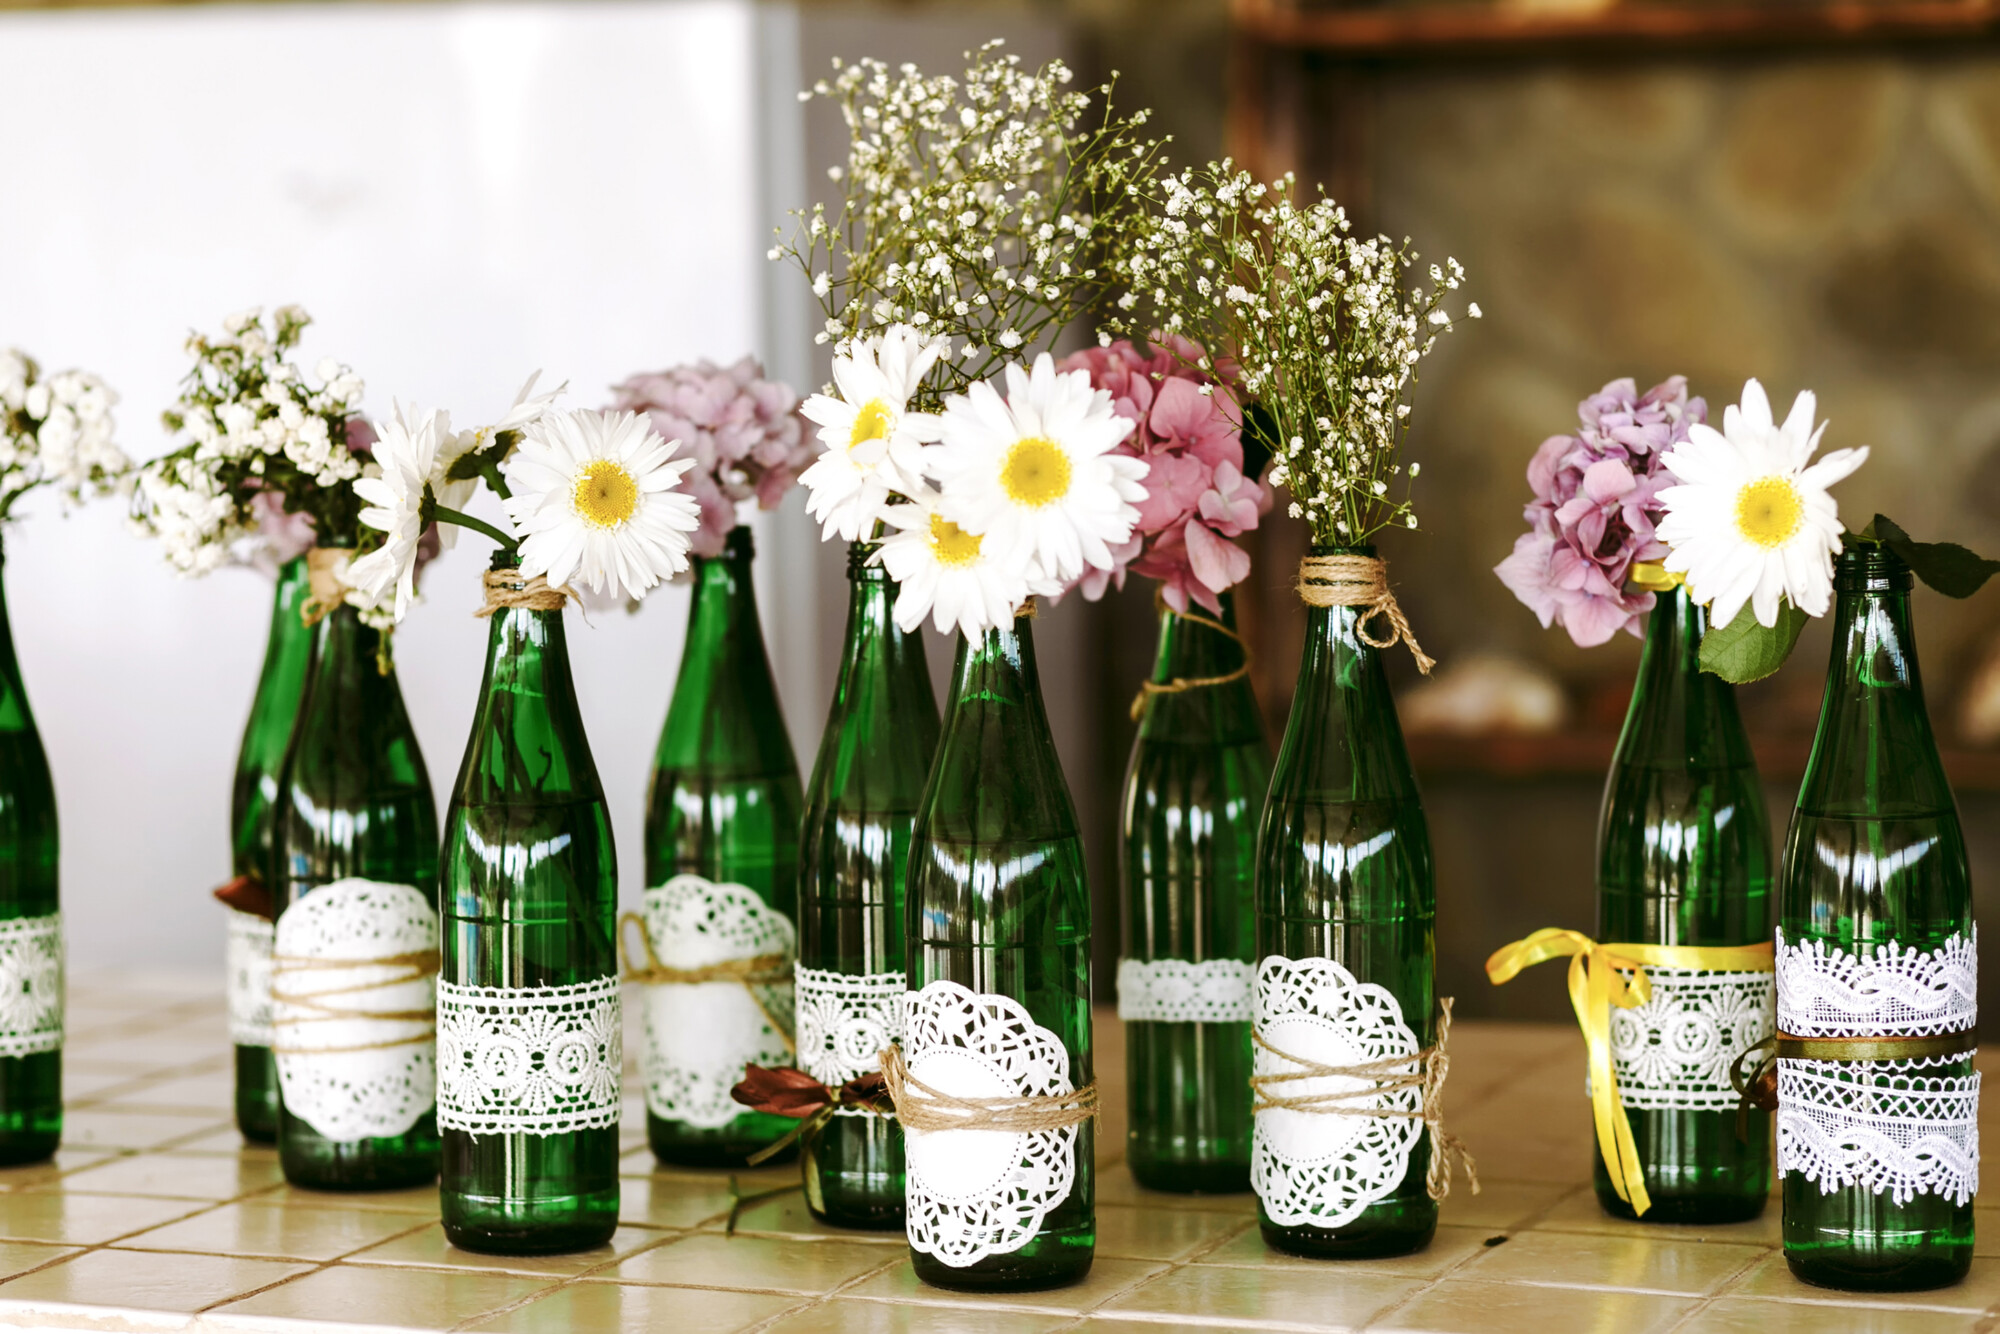
If you want to brighten up your plain jars and cups, why not consider decoupaging them? Decoupaging is a craft technique that glues decorative paper or fabric to a surface, and you can create a wide range of patterns and images when you make decoupage glass jars. In addition, they make a great decorative choice for gifts, display jars, or simply for home use. So, here is how you can make decoupage glass jars at home.
Prepare the Jar
- Choose a jar that has plenty of surface for affixing images or patterns. The larger the surface, the easier it will be to apply.
- Wash the jar in warm, soapy water to remove any leftover labels and adhesives as well as any dirt and fingerprints. Use rubbing oil to remove any stubborn adhesive remnants.
- 3Leave the jar to fully dry. If there are any leftover odours, wash again in soapy water or vinegar.
Prepare the Images
- Decide what pattern or image you want to put on your jar, as well as what material to use (wrapping paper, fabric, etc).
- Cut out the images to fit the jar. Measure them first to make sure they fit the surface space of the jar.
- Trim away any excess paper using a small cutting knife. Make sure you put the image on a cutting mat first to avoid damaging the work surface.
- Place the images on the jar in the arrangement you like the most. Use a light marker to mark the exact positions of the images if needed.
Apply the Images
- Lay down parchment paper over your work surface to protect it from glue residue. Avoid using newspaper as it can end up sticking to your jar.
- Choose a decoupage glue for affixing images to your jar. Alternatively, you can mix your own by mixing equal parts water and white craft glue.
- Paint a thin layer of glue on the jar in the area where you will place the image. Make sure to completely cover all the areas where images will touch.
- While the glue is still wet, apply the images to the surface of the jar. Use your fingers to gently push down and smooth out any wrinkles. Should you make a mistake you can remove the images gently with tweezers.
- Allow the glue to dry for at least an hour. If any air bubbles appear, use a pin or small blade to pop them and use your fingers to smooth them out.
- Apply another two to three layers of glue to the jar in order to seal the images in place. Space each layer out by two hours, allowing the previous layer to dry before applying the next one.
- Leave the jar to completely dry overnight. By the next morning your jar should be completely safe to use.
The Bottle Jar Store
To start decoupaging your own glass bottles, take a look at our range of square glass jars, jars and other products today.


